


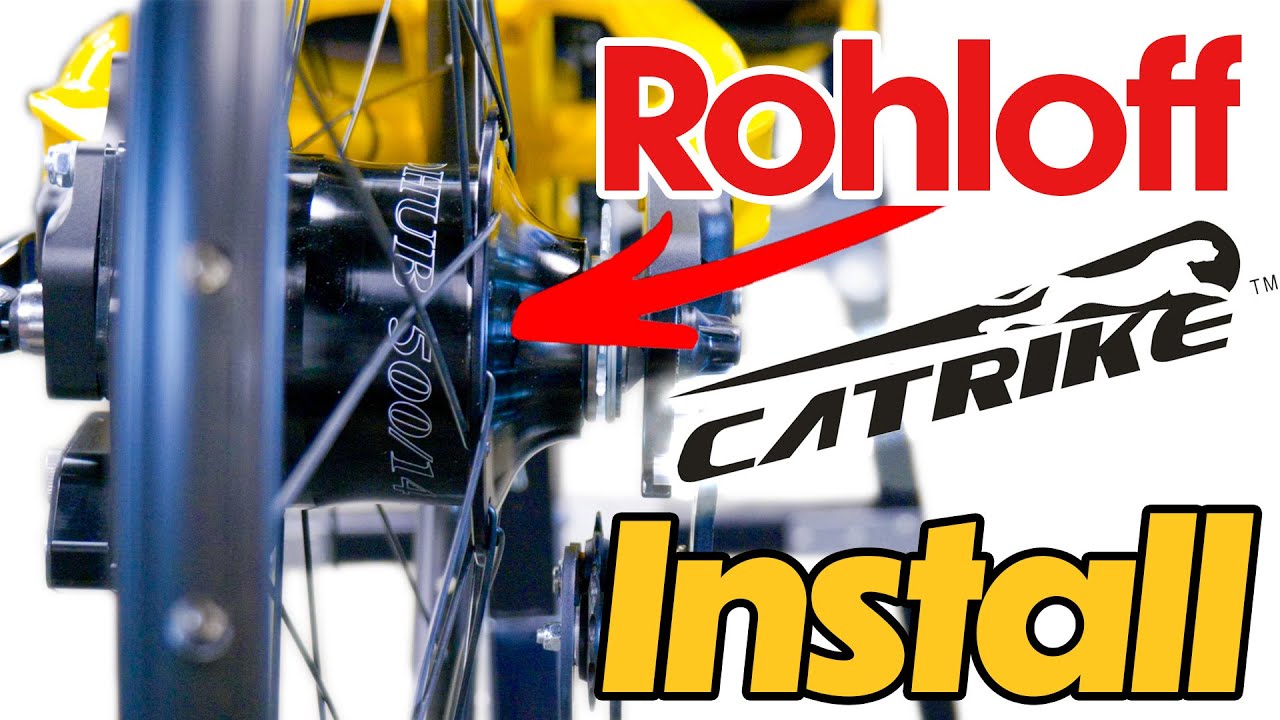
How To Install a Rohloff Hub on your Catrike!
Davy - Published on 07/28/2023
Hello and welcome back everyone! We here at Utah Trikes have been receiving a lot of questions regarding the Rohloff 14-speed internally geared hub and how to go about installing it on your trike. So today we grabbed one of our mechanics to help guide you through the process of installing a Rohloff kit yourself.
Here at Utah Trikes we have installed the Rohloff hub on hundreds of trikes at this point and offer on our website a pre-assembled kit to give you the option to install one on your trike at home. This kit comes with all the parts and hardware you could need to get you going.
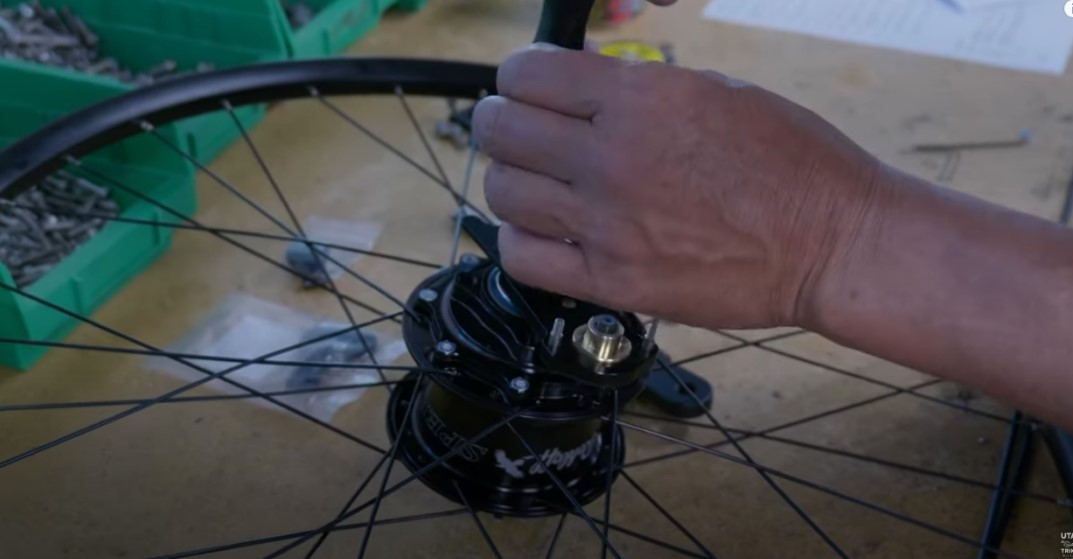
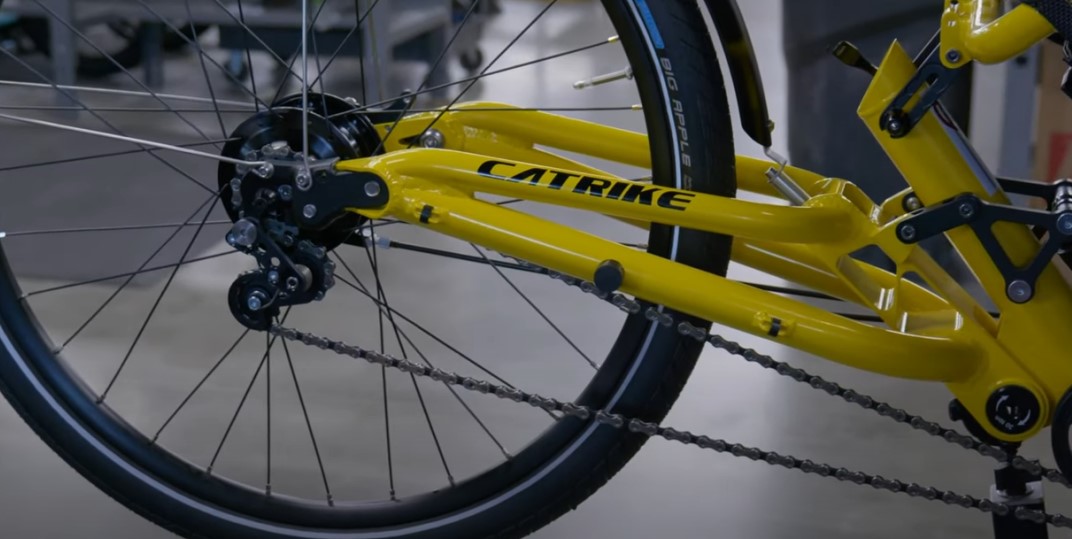
The kit will come with a Rohloff hub that is laced and trued in its own wheel, the twist shifter pre-assembled with a standard length of cable and cable housing to the shifting box, and a tensioner to replace your derailleur.
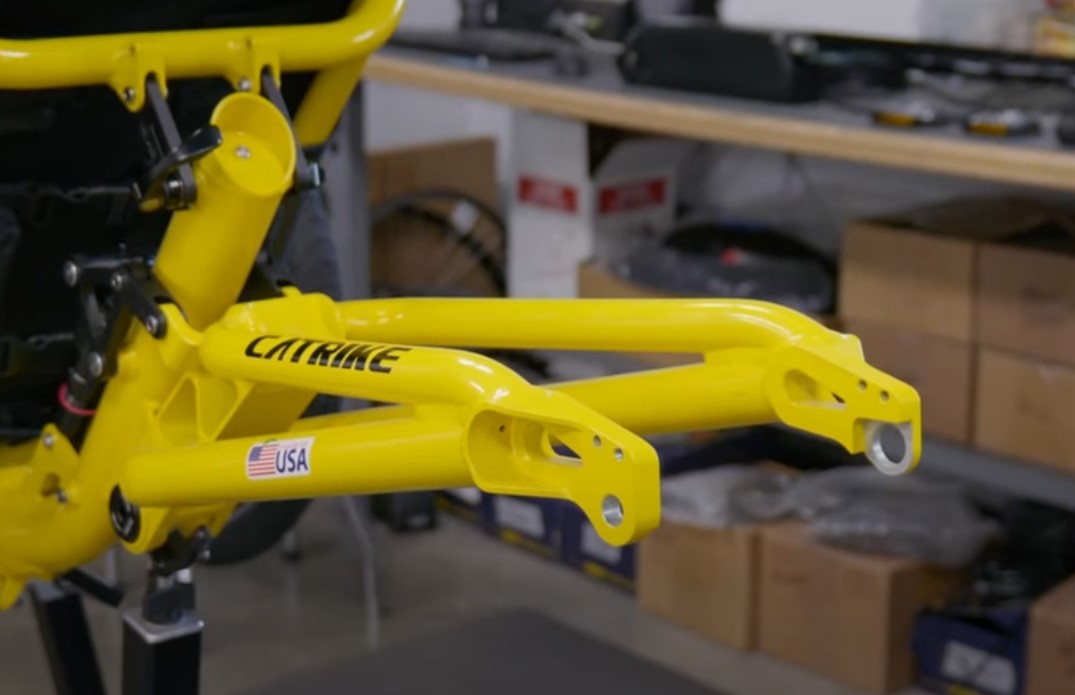
You'll need to make your rear fork bare, removing any fenders, derailleurs or any accessories. Remove the rear gearing shifter, and the grip, as you will be replacing them during this process.
On trikes with rear thru axel designs we will be adapting the rear fork using our UTCustom Standard Dropout Conversion kit.
If you need further explanation on how to install this kit you can find a video we have how to install these here.

We will then add our Rohloff Support Bolt through the brake mount on the adapter kit. This bolt will prevent the Rohloff from spinning in the dropout, and keep it set in the correct position.
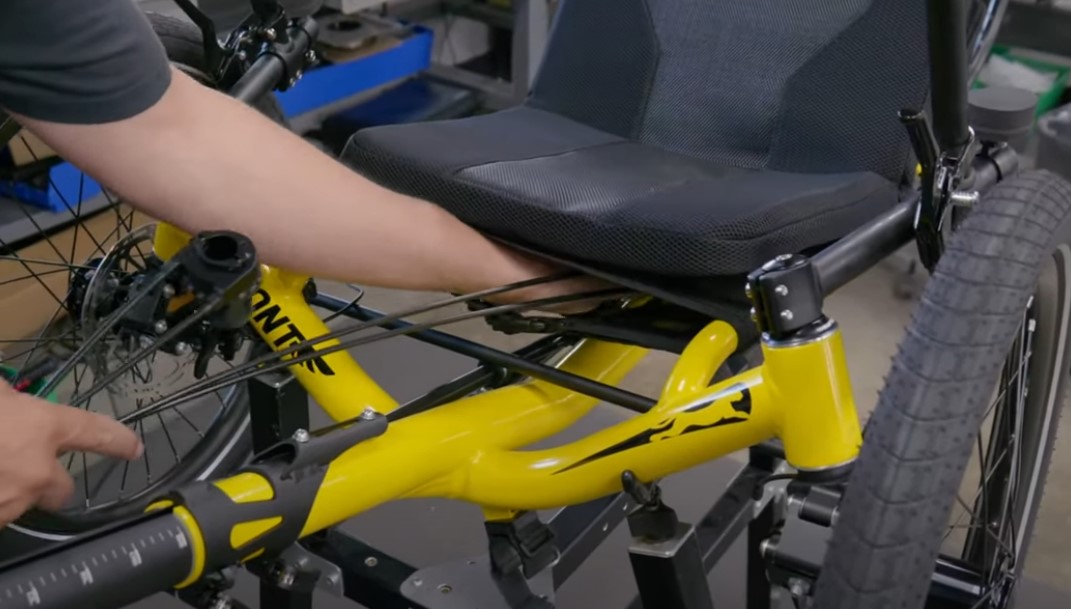
Then we will run the shifter box and cables under the seat, we like to run it through the straps underneath the seat, on Catrikes specifically. We will route the shifter underneath the seat bars. And then around the handle bar, then sliding the shifter onto the bar. Running the brake handle in between the cables. Then tighten down the shifter using a T20 screwdriver.
Then make sure the shifter is set into first gear.

To make sure the hub is in the correct gear we will grab an 8 millimeter wrench and go clockwise all the way to the right to make sure it's in first gear.
Next, we will install the shifter box on, you may need to wiggle it a little bit to get it to sit flush with the hub, and then we will tie the shifter cables out of the way. Making sure it doesn't bind up or get caught in any components.
Then we will grab our chain tensioner and use the two biggest spacers which we find to be the most commonly correct spacing. We will then bolt the tensioner onto the derailleur hanger. We just want the cogs on the hub and the chain tensioner to line up.
Then we will run our chain through the tensioner and size up our chain. Making sure we have a little bit of tension on the tensioner. You can then break the chain to make it the right size. Then place our master links and click the chain back together.
If you need help with this process we have a video that will help you size your chain correctly.
Then we will grab all of our hardware and our fender to finish it all off. We will place the top fender rod on the rearmost bolt hole on the top and then the rear fender rod in the back. On the other side we will do the same thing but adding our flag mount with the rear fender rod. Since we added the dropouts we will add a spacer and longer bolt that comes with the kit that will space the fender out correctly.

And then place the nut on the back to secure it. This process is easier if you remove the wheel beforehand. We can space out the fender by loosening all of the rod holders and adjusting them all the way out. Once you get it in the right spot tighten it down and this is how it should look with a tire on.
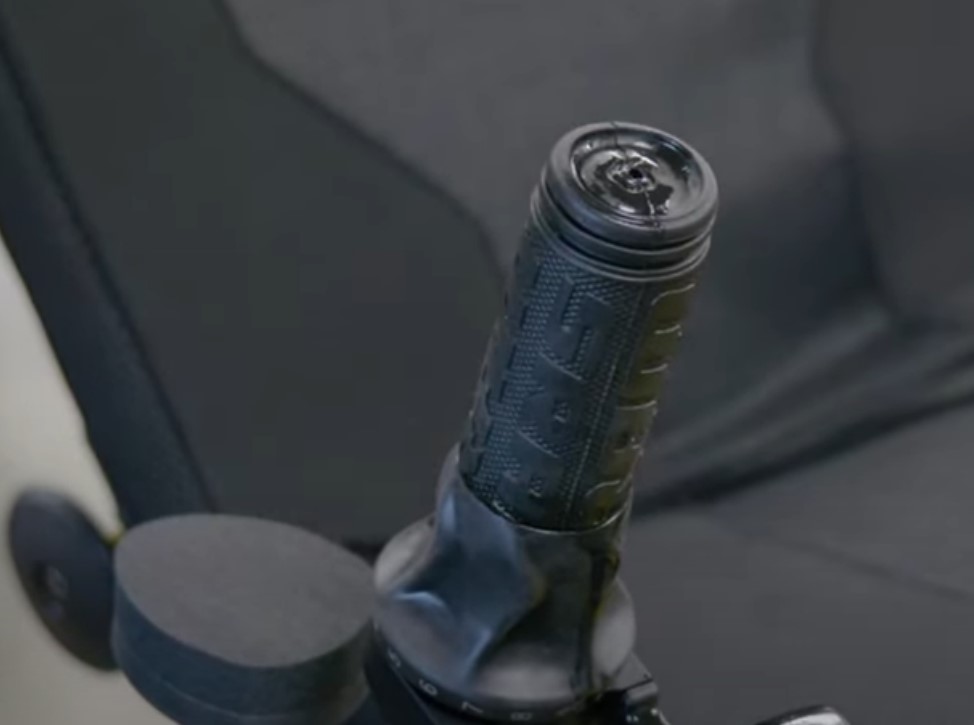
To cap it all off we will take a new rubber grip and cut it down so it will fit on the handle bar with the new shifter. We will lube it up with rubbing alcohol and then stick it onto the bar.
And that is it. Completely installed.
I hope this article has helped you install your Rohloff at home. If this article was a help to you please consider letting us know in the comments below. If you have any technical questions feel free to send a message to our support email. Trikes@Utahtrikes.com and our support team will get back to you as soon as they can. Thank you so much for reading, and remember to Relax, Spin Fast and Ride trikes