


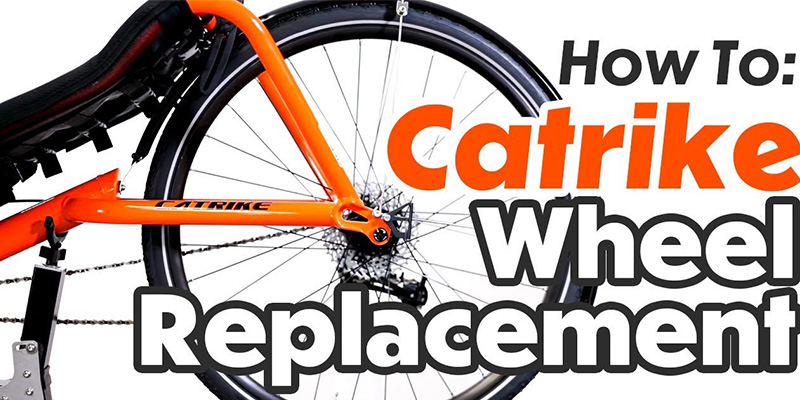
Catrike Wheel Removal and Replacement
Published on 03/18/2024
Hey Everyone, welcome back to another Utah Trikes articles. Today we're going to be demonstrating how to remove and replace your front and rear wheels on Catrike models. We will also have a video linked on the bottom of this page so feel free to watch it and feel free to pause and rewind the video as much as you need to.
The tools we will use today are a Park tool, or an allen key set with size 6mm.
Front Wheel Removal
1. Pull and twist quick release
2. Unscrew dust cap and catch spring
3. Pull out quick Release and place aside
The Quick Release is located on the inside of the trike for the front wheels and the rear wheel
To begin we need to loosen the quick release on the inside of the trike. To do this use your lift up on the tab and twist the handle to loosen.
Then remove the dust cap completely off the front side of the wheel
Inside the hub there is a spring connected to the quick release on the other side, be sure to not lose that spring as you pull the quick release out from the inside with the springs.
It is best to brace your hand on both sides to allow the spring to fall into your hand
Hold the wheel as you push the axle from the inside of the trike out. The wheel will just lift away from the frame.
To replace the wheel, reverse the steps.
Set the wheel rotor into the caliper and replace the axle.
When replacing the axle be sure to line it up with the spindle push all the way through.
Begin to take the quick release and place one spring on the rod, and the other spring in the hub on the opposite side, where the dust cap will go.
Screw in the quick release”
While still holding the quick release in place, twist the dust cap on the other side
Make sure this is as tight as possible. Fold the quick release tab down.
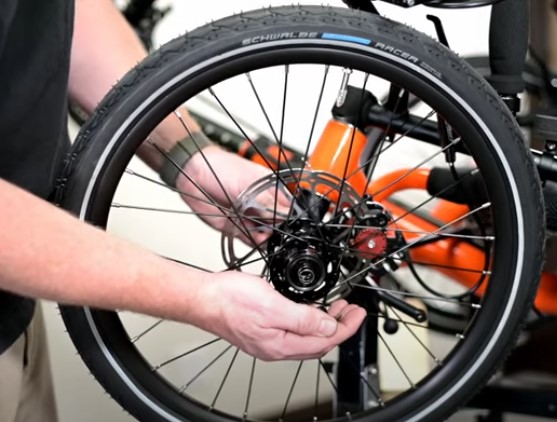
Removal and Replacement of Rear Catrike Wheel
REMOVAL
1. Loosen axle with 6mm allen key
2. Pull axle out
3. Remove wheel from chain and frame
REPLACEMENT
1. Be in LOWEST gear
2. Pull and lock derailleur
3. Route chain back
4. Replace axle
5. Tighten down axle and release derailleur lock
While holding the wheel with one hand.
Take your six 6mm allen key wrench and loosen the axle.
Pull the axle out and set aside.
The wheel will group right out.
Catrike has a lock button on their derailleur, it is located in the upper right side.
You can pull the bottom part of the derailleur forward and push in that tab to lock it in position.
This will allow for you to have slack in the chain to install your wheel.
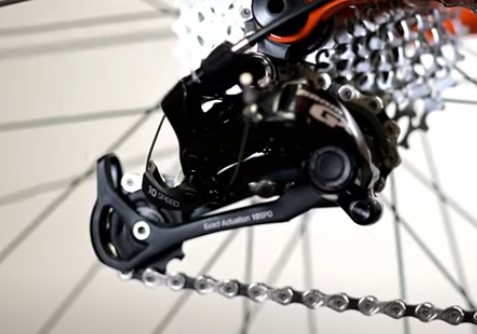
To reinstall your wheel, be sure you are already in the lowest gear.
The chain routes in an ‘S’ shape. It should go over the cassette, under the first jockey wheel, and over the 3rd jockey wheel to finish.
Lift the wheel starting at the bottom and be sure to route the chain in the lowest rung on the cassette.
Make sure the other side of the wheel lines up with the hole and notch where the axle will be placed.
Replace the axle inside the slots and tighten down with your 6mm allen key.
The torque required for the tightness of the axle is listed on the rim of the axle itself. It lists 10 newton meters.
To finish, release the derailleur lock by pulling forward until it clicks, it will fall back into place.
I hope this demonstration helped answer your questions. If you have further questions or concerns, feel free to call me or shoot me an email . I will respond to you as soon as I am able.
Please let us know in the comments below if you found this article helpful, we appreciate your feedback, see you guys on the next one! Relax. Spin fast. Ride Trikes!