


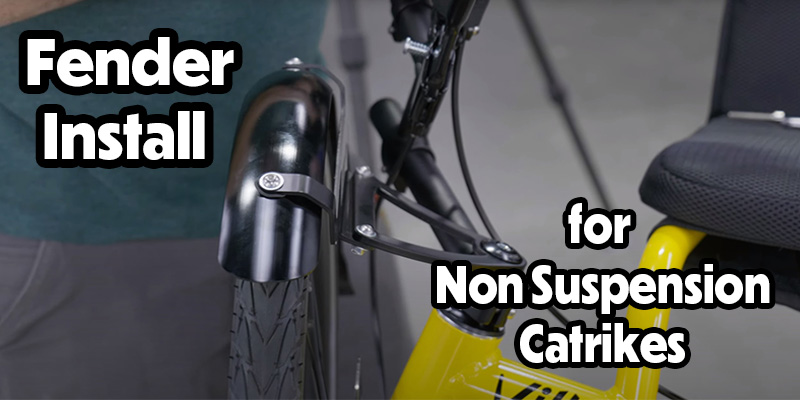
Catrike Front Fender Installation Guide
Hannah and Yann - Published on 01/25/2024
Welcome back to another Utah Trikes article. In this article we'll go through how to install a front fender on a non suspension Catrike. You can view Catrike's manual on how to install a non suspension front fender here. We will also have a video on this subject at the bottom of this page.
Parts Included
1. FLAT BRACKET - QTY 2
2. FRONT FENDER MOUNT - QTY 2: 1 LEFT, 1 RIGHT
3. M5 BUTTON HEAD SCREW - QTY 10
4. M5 FLAT WASHER - QTY 20
5. M5 NYLON LOCK NUT - QTY 10
6. PLANET BIKE FRONT FENDER - QTY 2: 2 FRONT
7. M5X16 SHCS - QTY 2: 16mm LONG SOCKET HEAD SCREW
Tools Needed
1. 5mm allen wrench
2. 3mm allen wrench
3. 8mm box wrench
Steps
1. To begin your installation you will want to assemble your front fenders like the image shown below, you will want to leave the button head screws attaching Flat Bracket (Part 1) and Front Fender Mount (Part 2) loose. Please note that the flat bracket for the right side will be curved in the front and the one for the left side will be curved in the back. The flat bracket pictured below is the left side.

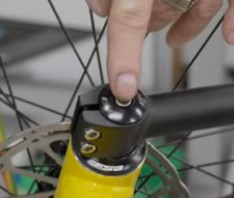
2. Next you will remove the headset cap and install the fender mount on the top of the handle bar and below the headset cap.
The only screw that you want to remove is the top screw on top of the headset. If you are having difficulties removing the headset then you loosen the top screw that is above the other screw, but do not remove it. when placing the fender on top of the trike make sure that the little flap is facing towards the back of the trike. Once the fender is on the wheel you will line up the hole on the flat bracket with the tube on the handle bar where you removed the headset. Once put into place you will place the headset on top and screw it in. Don't over tighten so you can make slight adjustments

3. Next we will make slight adjustments to ensure that we are happy with the placement of the fender. You will want to center it over the making sure it is parallel with the wheel. A good role of thumb is to make sure that the center of the fender is aligned with the middle line of the tire.
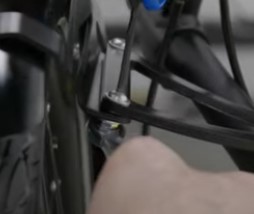
4. Once you are happy with the placement of your fender you will tighten the M5 screws left loose in step 1. For the screws on the flat bracket for the ones on the bottom you want to use a 8mm box wrench and the ones on top will need a 3mm allen wrench. Tighten and adjust until the screws are no longer loose and your fender is in the placement you want it.
5. Repeat steps for both sides.
6. Enjoy your new fenders.