


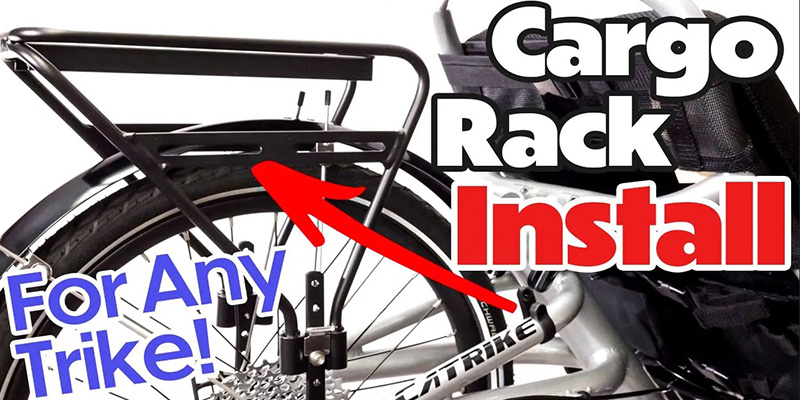
How to Install the Utah Trikes Adjustable Cargo Rack
Published on 01/15/2024
Hello Everyone, welcome back to another tutorial. Today we're going to show you how to properly mount our Utah Trikes Adjustable Cargo Rack. Today we are going to mount it on a Catrike, but it can be used on many other models, although it may take a bit more adapting. Here is a link to our installation manual from Catrike and our video on this subject is at the bottom of this page.
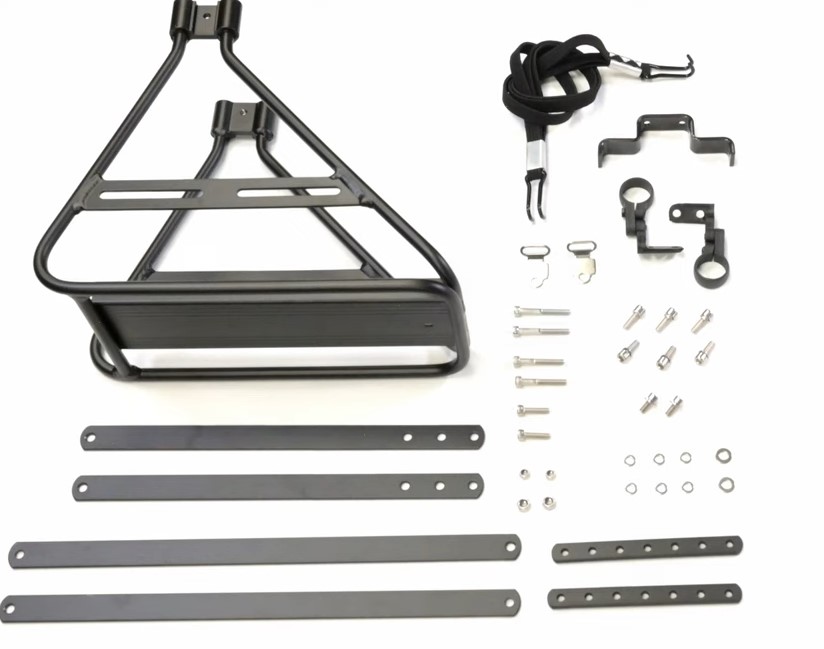
You want to lay out all of the parts of the Adjustable Cargo Rack to make sure you have all of the pieces. It costs about $85, not including shipping, on our website.
Steps
Before we start, these are the basic steps we will follow:
1. Assemble the rack, be sure there is enough clearance between the rack bottom and the rotation of the wheel.
2. Unscrew bolts on the trike frame and fender and attach rack in place
3. Prepare frame clamps and attach
4. Determine the stays length needed and mount it to frame
5. Tighten down all screws and bolts
Let’s get to it!
Tools
he tools you will need today are a 6mm allen key, a wrench, and a phillips screwdriver.
What comes in the kit
In this kit, you will have: 1 Rack, 2 sizes of front rack Stays, 2 small lower rack stays, a bungee cord, 2 little hooks for the bungee and 2 5mm bolts with washers specifically for these hooks, 2 clamps for the catrike specifically, a front mount for an eco tad if you have one, and various hardware to fit different models. You may need to supply additional hardware if you are mounting this rack to a more specific trike. Everything in this kit will work for a Catrike.
Let's get started
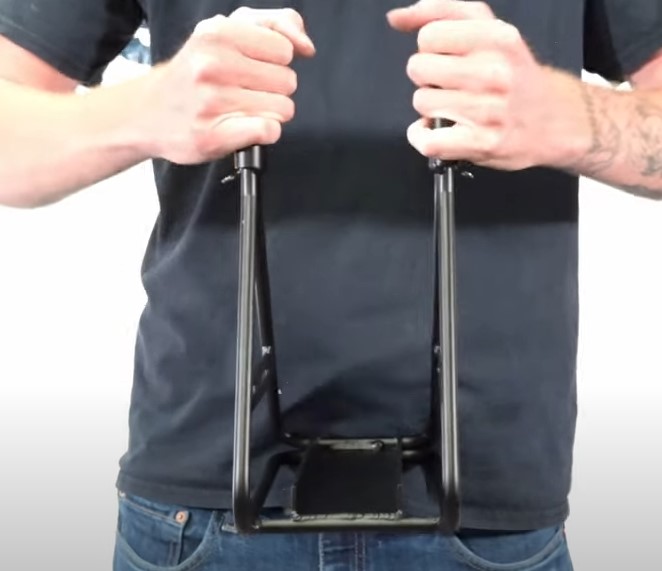
To pre-assemble the rack, lay it on its side and use the lower stays to set the height. The largest size wheel this rack can fit is a 26 by 4 inch wheel for models such as the Fat Tad Crawler or the Fat Cat V3.
For demonstration, we will set it in the middle of the stay. Add the bungee hook and line it up. The opening of the hook should be facing upwards for the bungee to clip on later. Line up all the holes and screw down the 5mm bolt with the washer attached. Make sure it is tightened down. Repeat this process on the other side of the rack. Please remember to attach the stay at the same height as the other. You can be sure by counting the holes to be sure they match.
To bolt the rack, we need to use one of two locations. Catrike has 2 bolt holes for accessories on their fork, if you have a fender, both holes will be used to secure it. We can still attach a rack on top of that. As a tip: It will be easiest to use the bolt hole closest to the frame than the other, simply because catrike also uses the second hole for their flag mounts. But it is up to you and however you like your accessories configured.
First, we will remove the fender bolts and washers from the front hole on both sides of the trike. You will need a 5 mm allen key to do this.
Also, be aware that the fender bolt may be too small to attach the rack and the fender. If so, you will want to use one of the longer bolts in the kit.
Also Note that the rack’s shape is a triangle with a longer side; that longer side needs to point away from the trike when installed. You can also see that there is a small hole on top of
the rack, this hole should be furthest from the frame to ensure your rack is installed correctly.
As soon as we have the right placement, we can attach the rack to the trike using the longer bolts with washers. Place the bolt through the rack and fender mount. Then screw into the frame hand tight until we attach the otherside.
On the opposite side, you may have to bend the rack to allow it to match up with the bolt hole. And thread it hand tight. These racks are made to fit on most trikes with a little tweaking.
As you have it mounted, the rack will swing until those bolts are tightened down. Take this moment to look at the height of your rack. Typically we install them as close to your wheel as possible just as a preference. The height will depend on the types of pannier bags or trunk bags you are planning to use. After you reach the desired height, level your rack and tighten down the bolts with your 5 mm park tool, this will keep it in place long enough to apply the clamps.
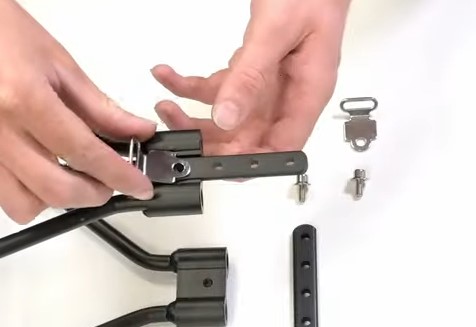
Now we need to apply the clamps to the rear fork. The kit comes with these reflector clamps for catrikes. Other kits may have or need different hardware. These clamps will need to be adapted slightly. With a phillips screwdriver, remove the flat piece of the clamp and toss it, you will not need it.
Take note of the nut inside the hole. Make sure to keep it with the bolt as you will need both later. It helps to put the bolt back into the clamp to keep it together.

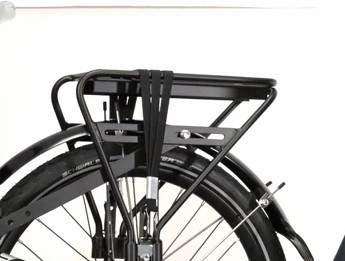
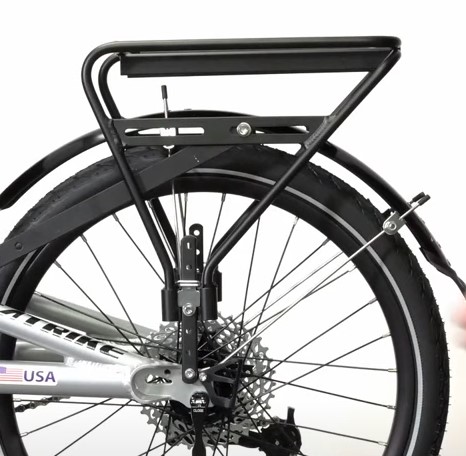
Next, remove the second bolt holding the round clamp into place. Opening the clamp a bit, slide it over the trike frame with the tail of it pointing up to the rack. You can apply the clamp wherever you would like. We usually install it in front of the Catrike logo sticker to keep the sticker intact. It also provides a good place for the length of the stays. Tighten the clamp bolt with a phillips screwdriver until it is snug, but not too tight. This will allow you to move it, if necessary, to fit the stays.
Now we attach the stays. The kit comes with 2 lengths, depending on your trike you can use the shorter or longer ones. If you need them even longer, you can combine both sets by drilling an additional hole and bolting them together.
To measure the length properly, we are going from the bolt hole in the clamp tail to the rack slit.To offer further support, it is best to mount the stay under the rack and in front of the clamp.
Depending on your trike, you can use either slit in the rack. For this trike we will use the smaller stays and mount it in the furthest slit.
Unscrew the bolt in the clamp and bolt in place with a 5 mm washer, through the stay, with the screwdriver. Place the stay behind the rack and then grab the 6mm bolt, a washer, and nut.
Apply the big washer to the bolt, place through the slot and the stay, then screw on the nut on the back.
Make sure at this point your trike is level, it helps to put it on the ground to check.
Finally, take your wrench and your 5mm allen key and tighten the rack to the stay. Go through all the bolts and tighten them down, such as the clamp and the front of the stay.
The last step is to attach the bungee. Clip the hook facing inward towards the trike, wrap around the top of the rack, and down to meet the other bungee hook.
Then you are good to go!
We hope this article helped you install your rack perfectly for storage! If you have further questions please call or email us. If you are looking for storage bag options you can find them on our website.
In the meantime, Relax, Spin Fast, and Ride Trikes!