


How to Remove a Wheel on an Eco Tad or CXS Recumbent Trike
Published on 01/22/2024
Hey Everyone, welcome back to another Utah Trikes article. Today we're going to be demonstrating how to remove and replace your front and rear wheels on the Eco Tad, this information can also be used for the Fat Tad CXS wheels as well.
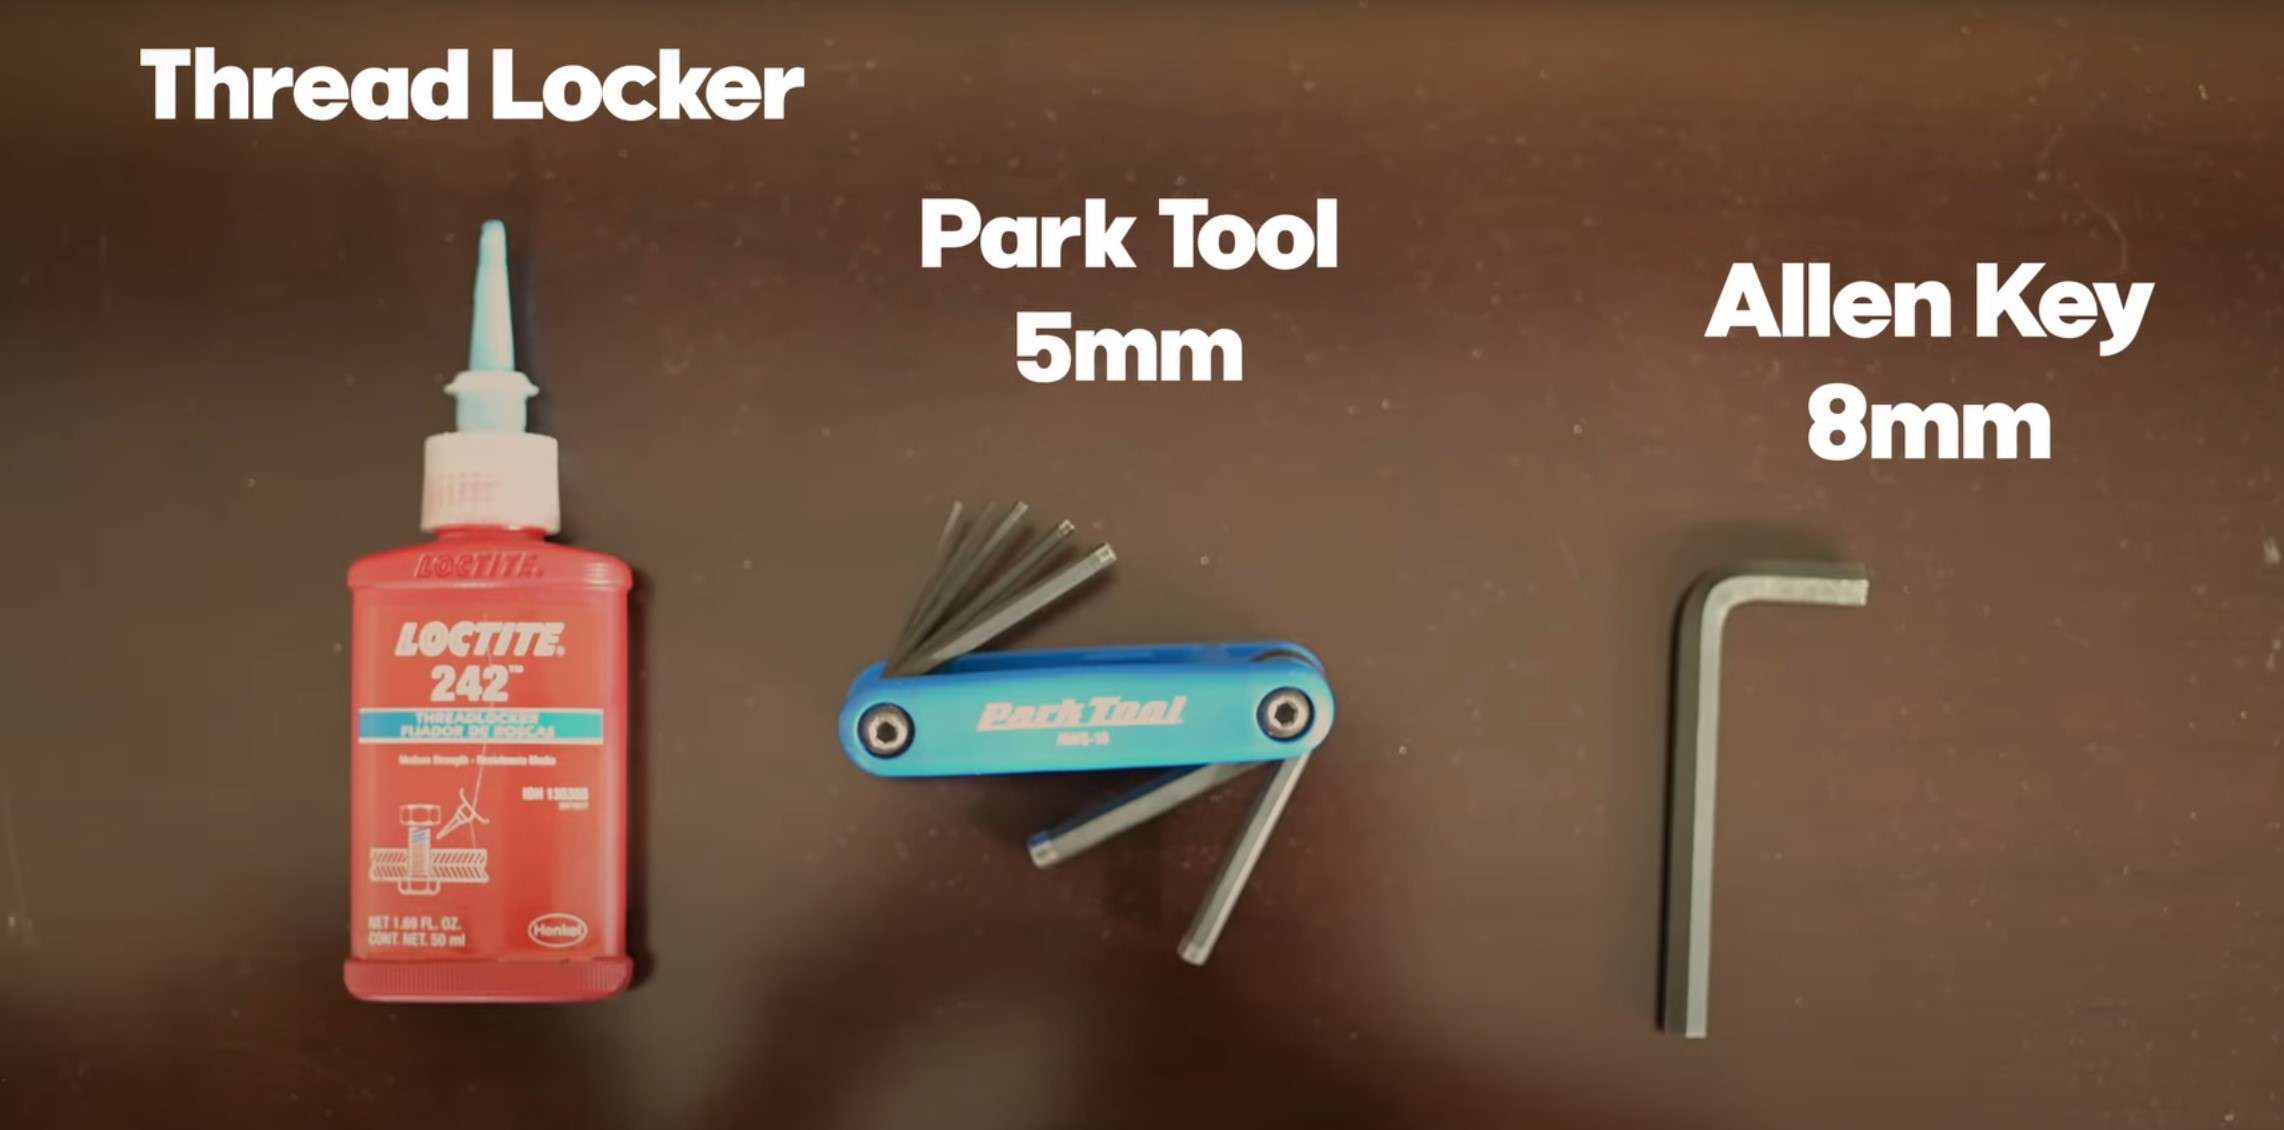
The tools we will use today are a Park tool, or allen key set with sizes 5mm and a 8mm, you also may want to have some Thread Locker to ensure it stays secure when replacing the bolts.
Step:
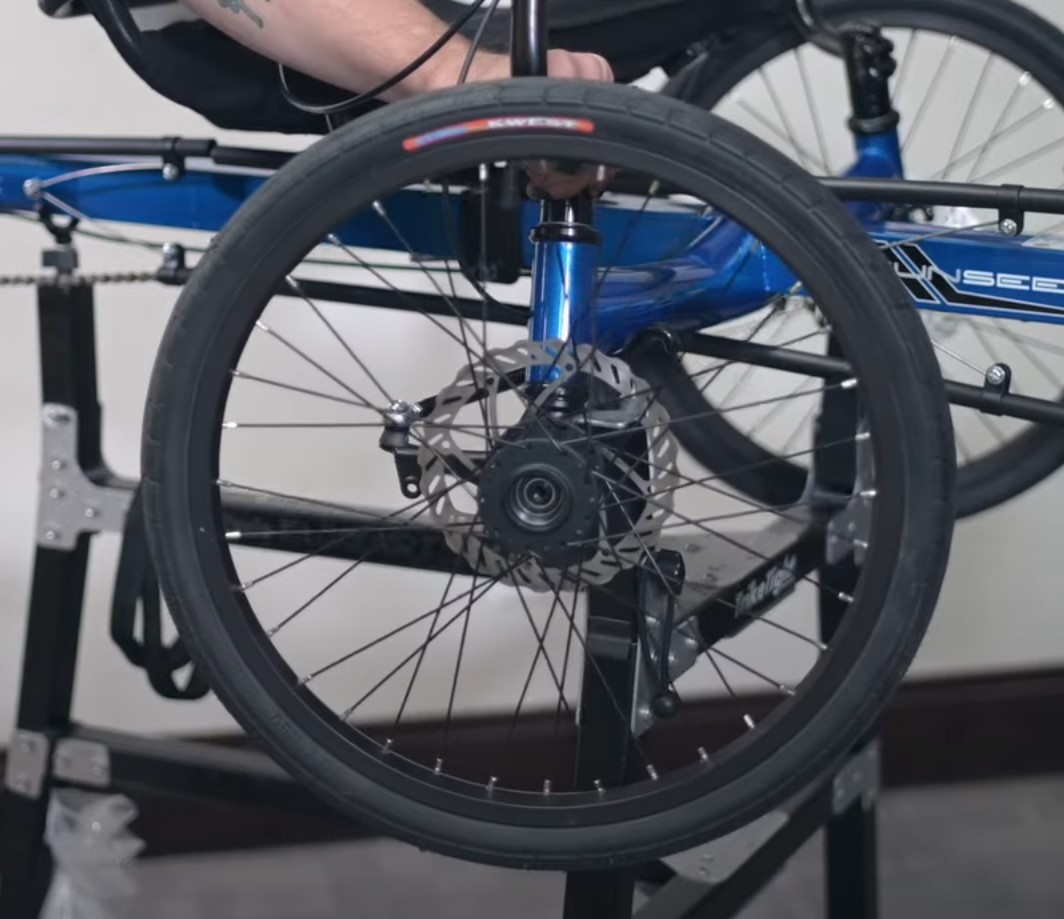
1. Remove Caliper & IS mount
2. Remove Dust Cap
3. Remove internal Bolt and Washer
4. Remove Wheel

To begin we need to remove the brake caliper first. To do this use your 5mm to remove 2 bolts that hold the IS mount to the caliper, we will remove the IS mount itself, and that will allow you to remove the brake easier so you take the wheel off.
After the caliper is removed, set it out of the way.
Then, take your 8mm and remove the dust cap on the outside of the wheel. When that is complete use your 5 mm to access and unscrew the bolt inside the hub. These bolts will be pretty tight, because we tork them down in the shop when they are built. After the bolt is removed, keep the washer attached to it. After all that we can now remove the wheel from the trike, it just slides right off.
Now to replace the wheel, we just need to repeat our steps backwards. Put the wheel back on the axle, and put the bolt and washer back inside. Note that it does come with some Thread locker on it but I would suggest putting on a little more to ensure it stays put. Tighten the bolt snug and secure, cause no one wants a wheel to come off mid ride. Replace the dust cap on the front of the wheel and screw it back down, it helps to place it and spin the wheel to make it quicker to screw in. Remember not to tighten it down too tight because it will seize to the wheel, but tight enough it is not going to come off easily.
To replace the caliper, and route the cable toward you and under to line up the two holes on the spindle. These bolts also come with some thread locker, but again I recommend you put a little more on when replacing them to keep them secure. When tightening down the caliper, make sure you are tightening down evenly so you do not get any binding on the caliper and rotor itself. Do not tighten down until you get it snug evenly. There you go, your wheel is replaced!
Rear Wheel Removal and Replacement
Steps:
1. Make sure chain is on the lowest gear
2. Pull quick release tab and unscrew nut on other side
3. Hold the wheel and push derailleur forward and pull wheel out
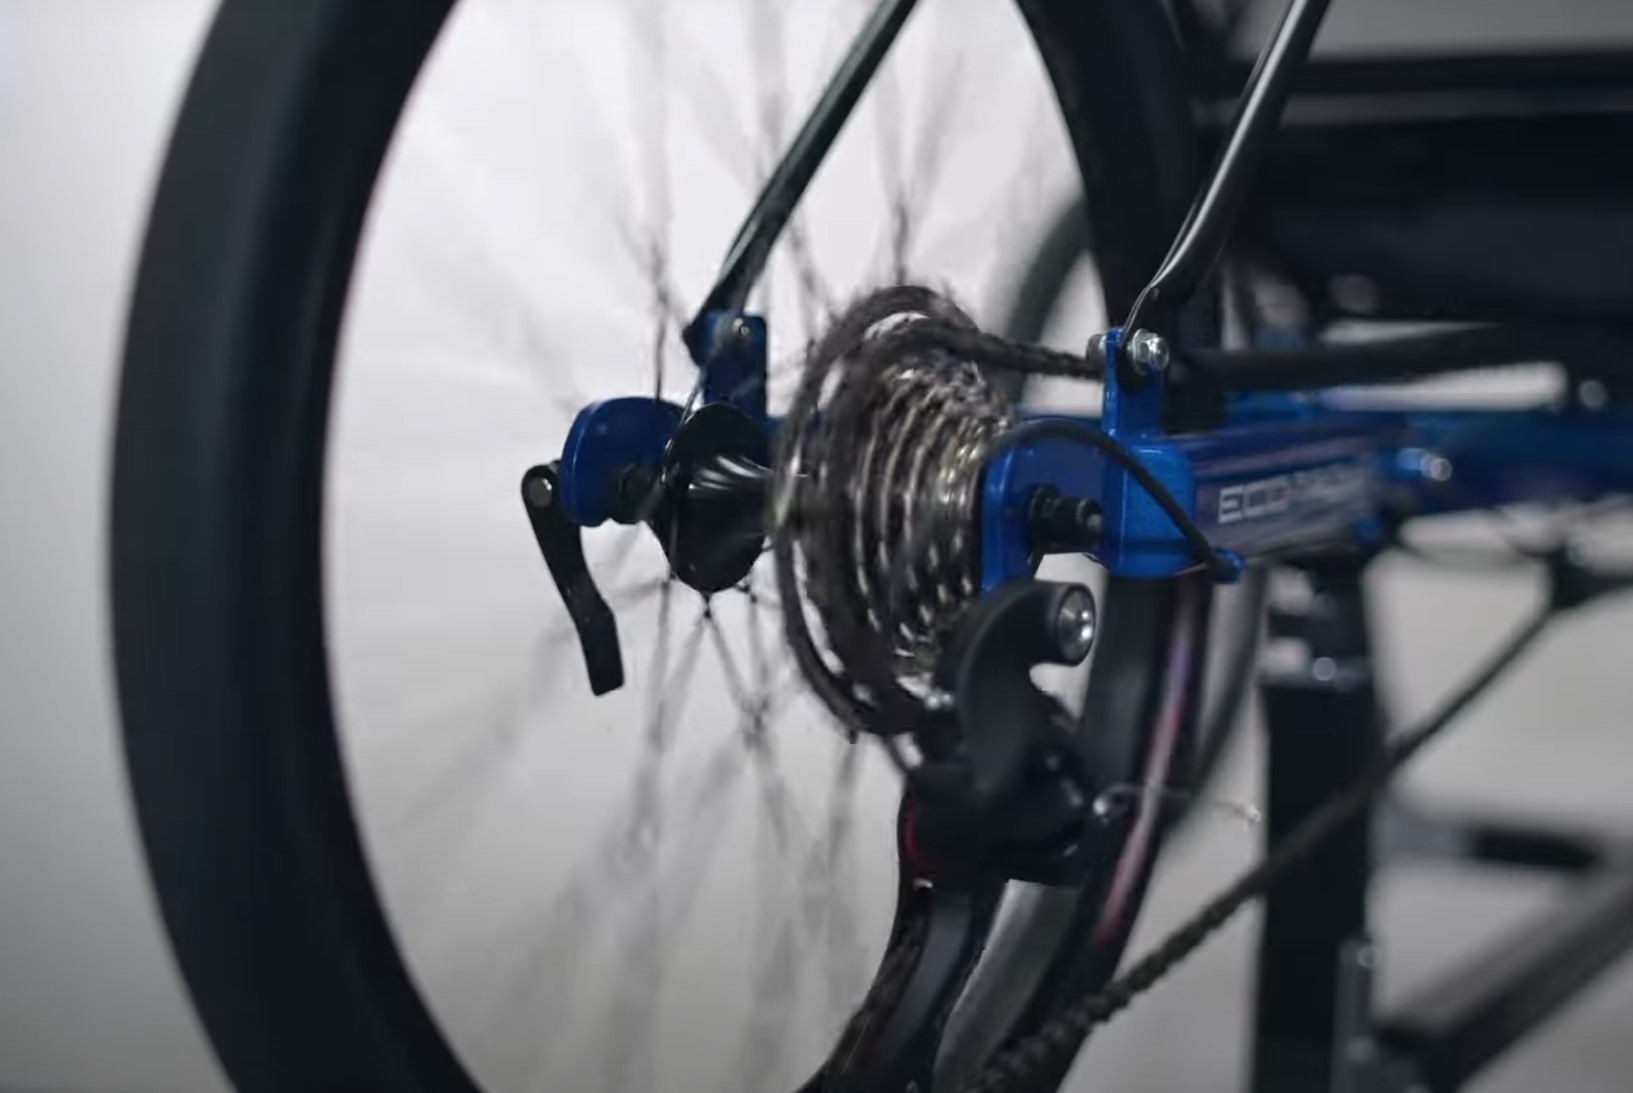
This is a quick release axle, so you don't need any tools to remove the axle, it just needs to loosen to pull out the wheel.
Make sure the chain is on the smallest gear, this will make it easier to replace and not mess up your gearing.
Open the quick release on your left side, loosen the nut on the right, don't go too far or your cap will fall out. The rear wheel will drop out, roll the derailleur forward to give the chain some slack and make an easy pathway to remove the wheel.
Now that your rear wheel has been removed, notice that there is a spring on each side, that is what keeps the tension when you put the quick release in the wheel. Do not lose those when you take them apart.
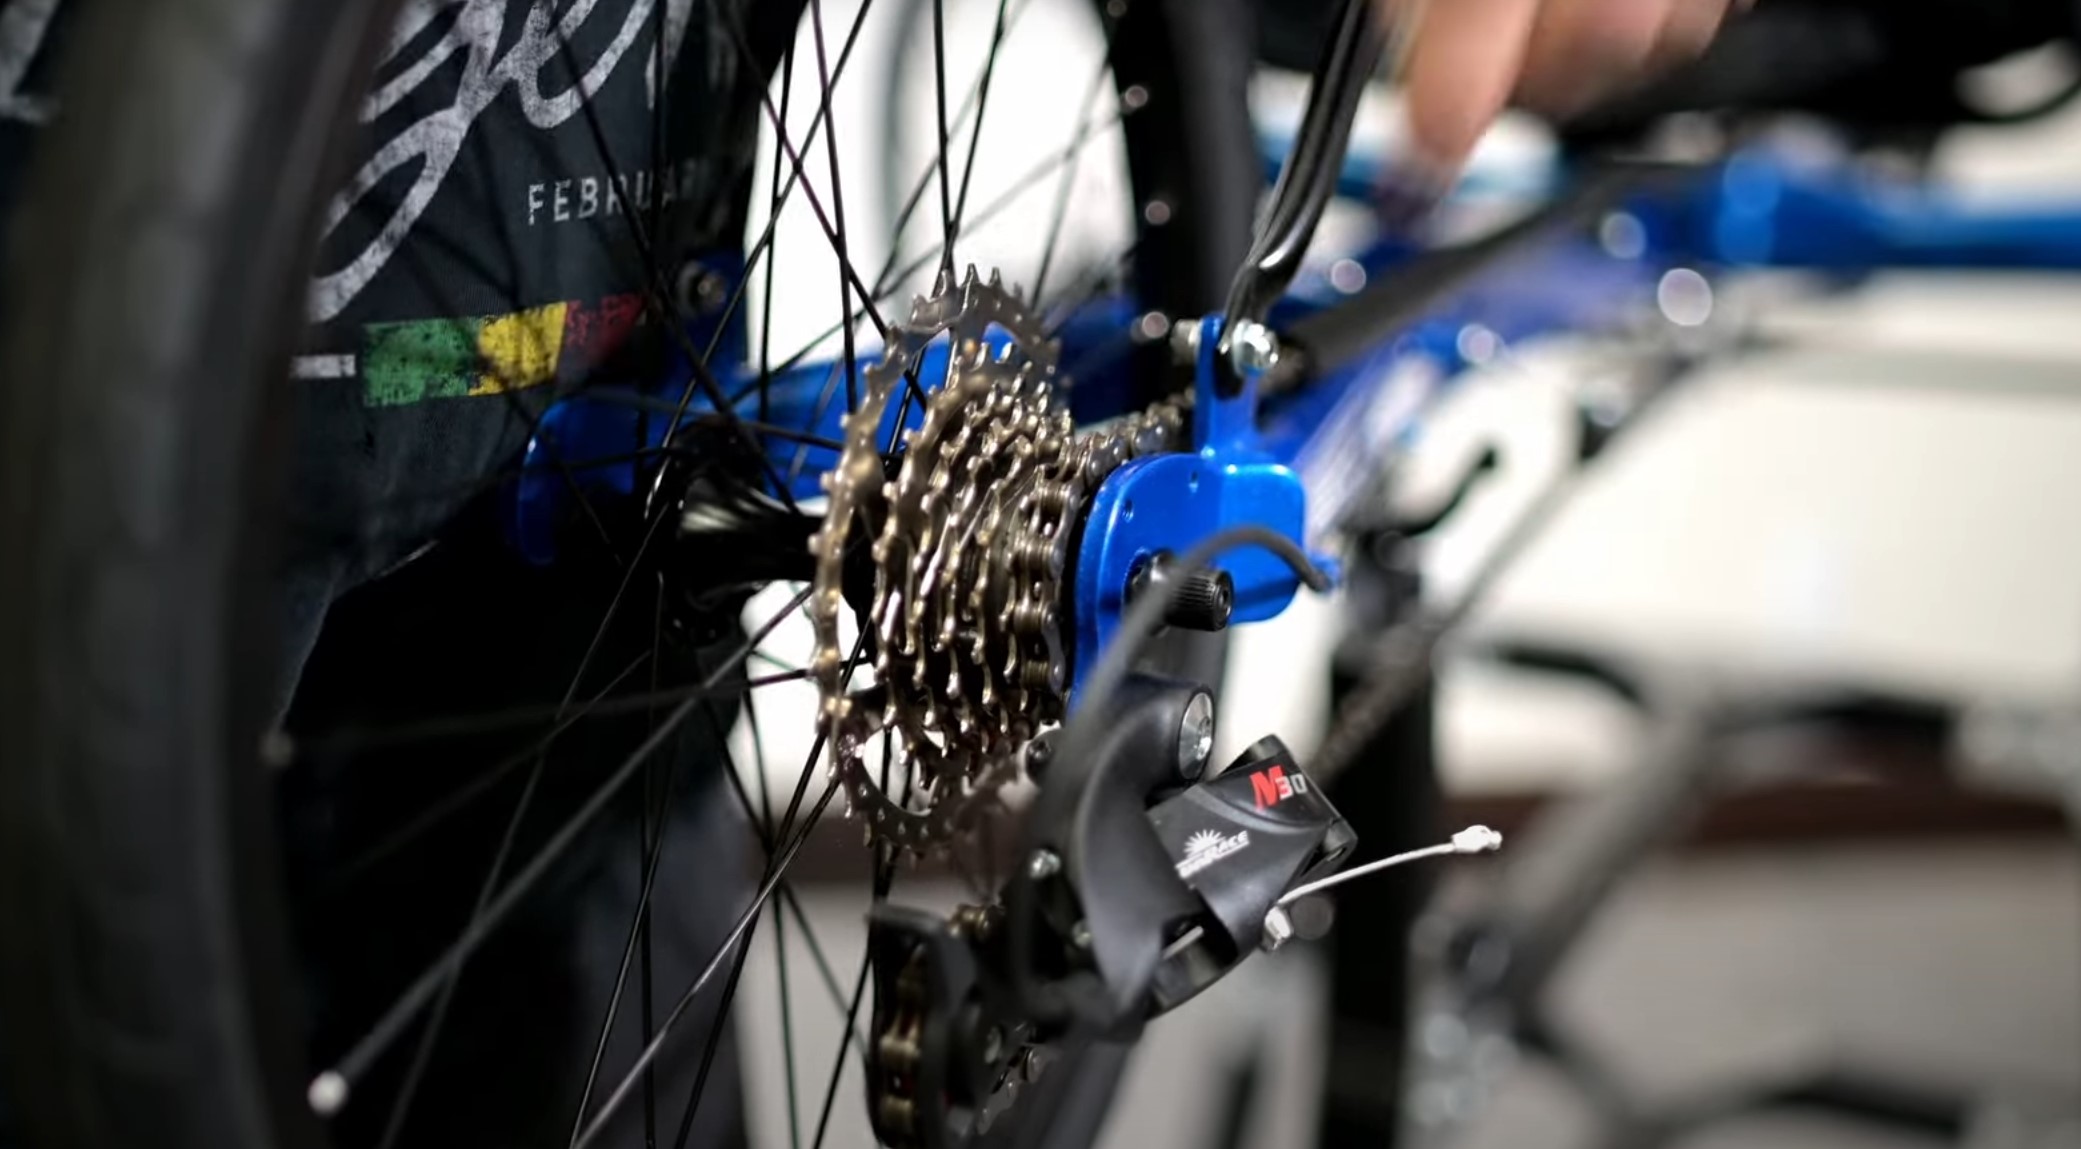
To replace your rear wheel, go from the bottom and line up the chain with the cassette on the lowest ring where your gearing was before. Pull up and pop it into place, line the axle with the dropouts in the frame, be sure to put it as high in the dropout as possible or you may get trouble with your shifting. Tighten the nut on the right side and fold the quick release tab on the left side down. Make sure the quick release nut and tab are as tight as possible so your wheel remains secure. Then you are good to go!
We hope this demonstration helped answer your questions. If you have further questions or concerns, feel free to call me or shoot us an email at trikes@utahtrikes.com. We will respond to you as soon as we're able.
Leave us a comment if you found this video helpful, we appreciate your feedback, see you guys on the next one! Relax. Spin fast. Ride Trikes!