


Catrike MAX Basics - The Biggest Trike from Catrike Yet!
Harold Guy - Published on 12/13/2023
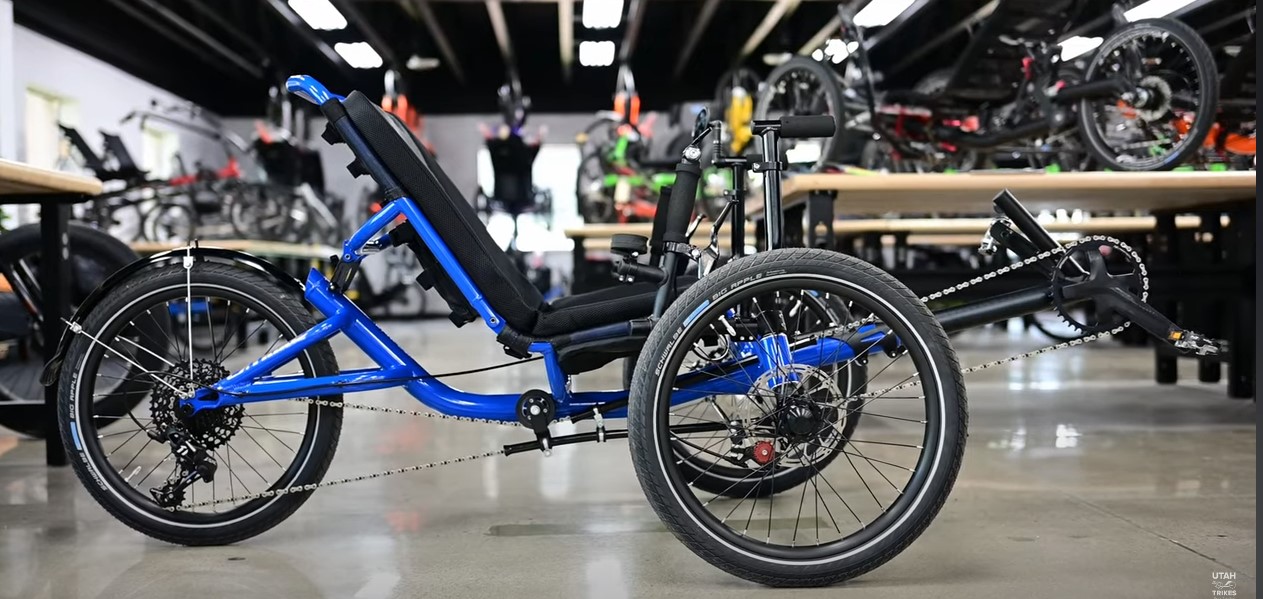
Hello everyone and Welcome back to another Utah Trikes article. I'm Harold and today we are going to give you the rundown on how to use your new Catrike MAX. We know that this trike is probably the first for a lot of people due to it being our first high weight capacity trike at such an affordable price. This has lowered the barrier of entry for a lot of people and learning a new vehicle may be tricky, so I wanted to come out here and teach you the basics of riding and trike setup.
Trike Setup
Starting off lets cover trike setup. So you've just got your trike and it's all out of the box practically ready to ride. First thing you'll want to do is check for any damages on your trike. If you find any major damage you can contact us and we will help you get a shipping claim to help you get this resolved. Once you're sure your trike is in the right condition you can start getting it adjusted.
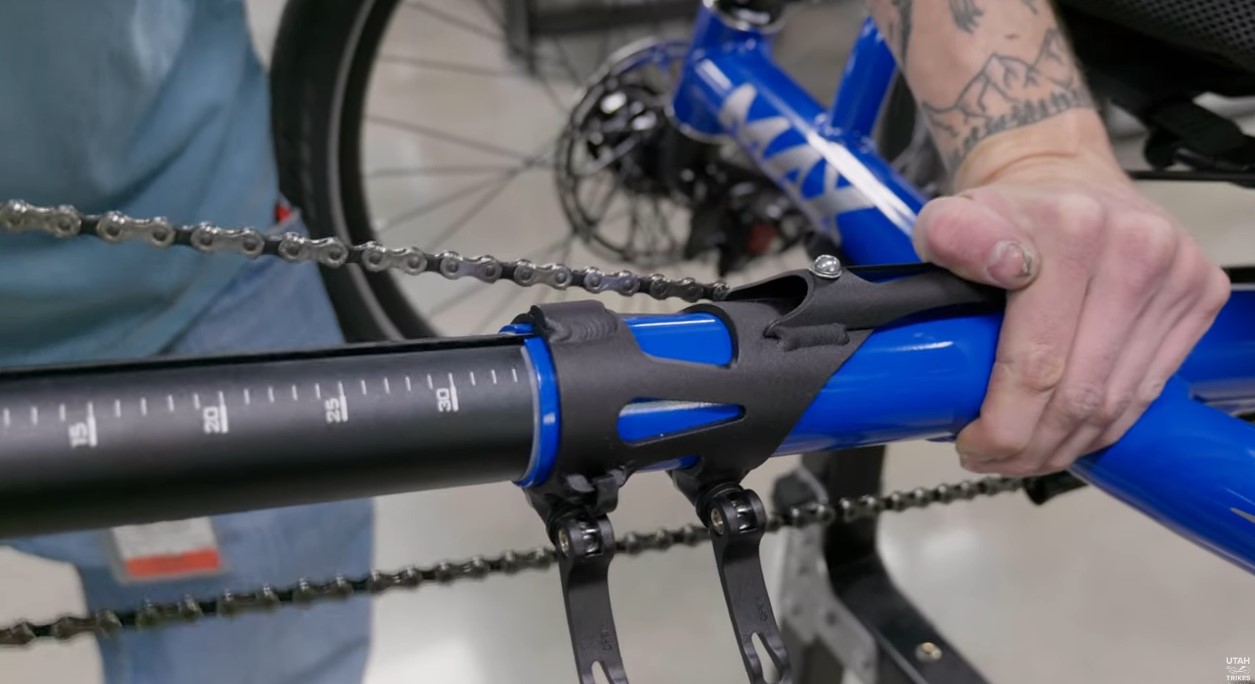
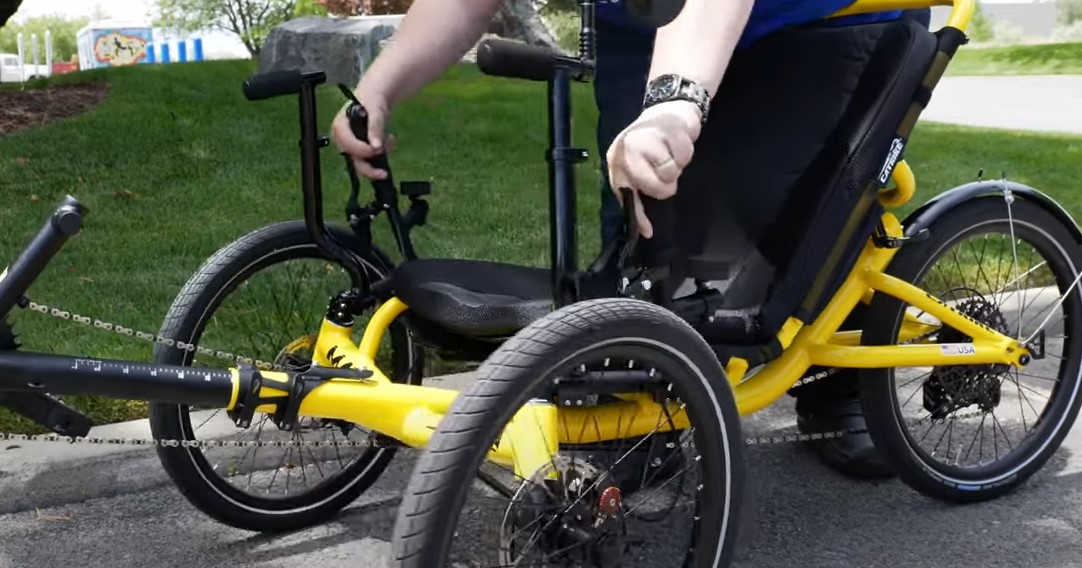
We ship out Catrikes ready to go out of the box. The only preliminary set up you may need to do is to adjust the boom. The boom usually is pushed in for shipping to maximize space. So when you take it out of the box there will be a guide letting you know what marking to adjust your boom to.
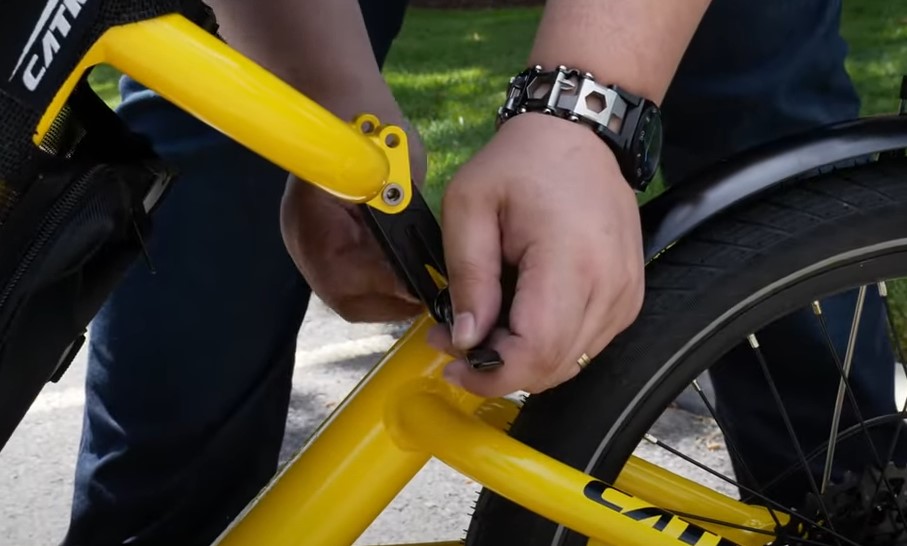
You adjust the Boom by undoing the quick release here at the base of the boom and just pulling the boom out to the marking specified on the paper included with your trike. Once it's at the desired length, close the quick release and you should be all set to start riding.
When ordering your trike you would have given us your X-seam measurements and this allows us to set you up with the correct amount of chain so once your trike is adjusted to the correct length there is no additional set up that needs to be done.

If you end up needing to adjust your chain for a different X-seam we have a video that will walk you through the process.
You can also adjust your trike further for your comfort if you need to. The handlebars are fully adjustable. All you need to do is loosen the bolt at the base of the bar with a 5 mm allen wrench. Once loosened you can pull the handle bar in or out to give yourself more room in the cockpit.
If the seat isn't at the right angle for you it's also easily adjustable. You're going to want to head behind the backrest to this quick release and once it's unclamped you can adjust the seat to any of the 4 positions on the adjuster.
If this range of adjustment isn't enough for you we offer our UTCustom Catrike Seat Extensions. This will give you 7 more adjustment slots to get you a full range of adjustability on your trike.
It's also good practice to check your tire pressure before you ride, sometimes a fluctuation in temperature can decrease the air in your tires.
You can do this easily if you own a bike pump with a pressure gauge. Just hook the pump head up to the tire valve and it should show you the pressure reading of the tire. If you are unsure of the PSI your tire should be filled to, you can take a look at the tires sidewall and all of the info you need should be right there.
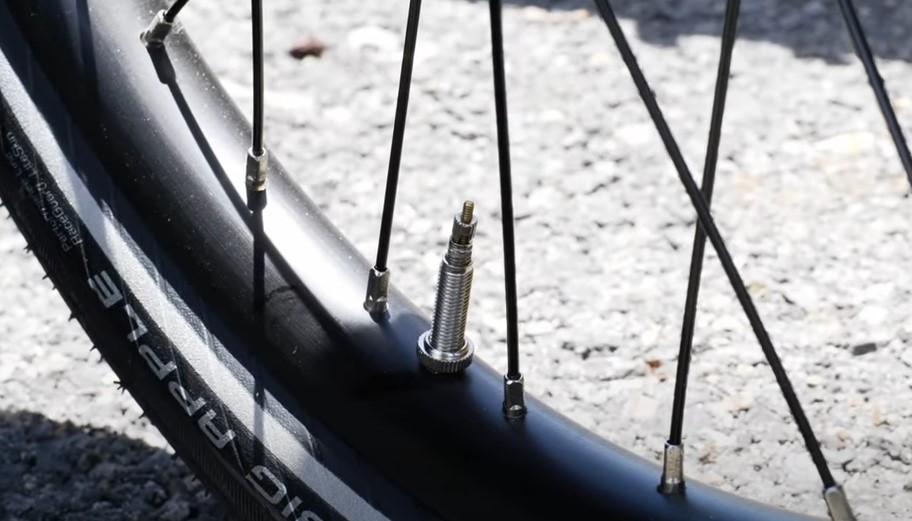
Something to be aware of is that Catrikes come stock with tire tubes that have a Presta valve. This is different than the Schrader tire valve you may be more familiar with. The Schrader valve is more common on lower end bikes, trikes with fat tires, and other vehicles like cars. These valves are similar, but Presta valves were made specifically for bike use so there are some functional differences.
Before you pump up your tire make sure your pump is Presta compatible or has an adapter to work on both types of valves. The Presta valve is thinner than a Schrader so a different pump may be needed. Attaching to the Presta valve is a bit different than a Schrader. First off you'll want to remove the cap on the valve like you would on a Schrader, and then loosen the valve lock. Attaching to the Presta valve is a bit different than a Schrader. First off you'll want to remove the cap on the valve like you would on a Schrader, and then loosen the valve lock.
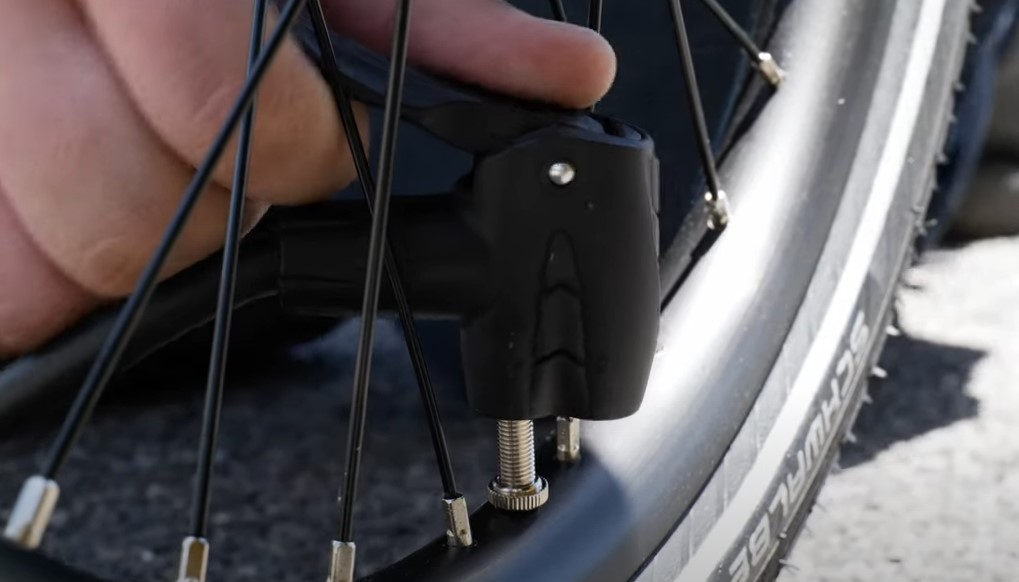
Once loosened all you need to do is get your Presta compatible bike pump and attach it to the stem. Once you're all pumped up take a couple seconds to listen to the tire and make sure there isn't any air escaping from it.
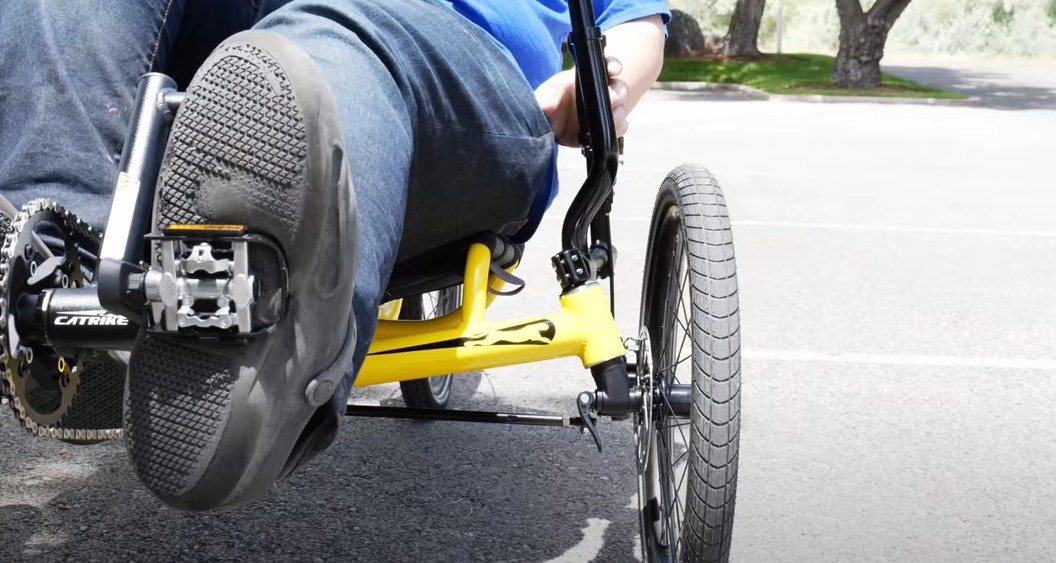
Lastly before we take off let's take a look at the Catrike Combo SPD Pedals. These pedals have two sides: a standard riding side, and a side for riding with clipless biking pedals. If you have riding shoes the Catrike MAX comes with cleats to attach that correspond to the Catrike pedals.
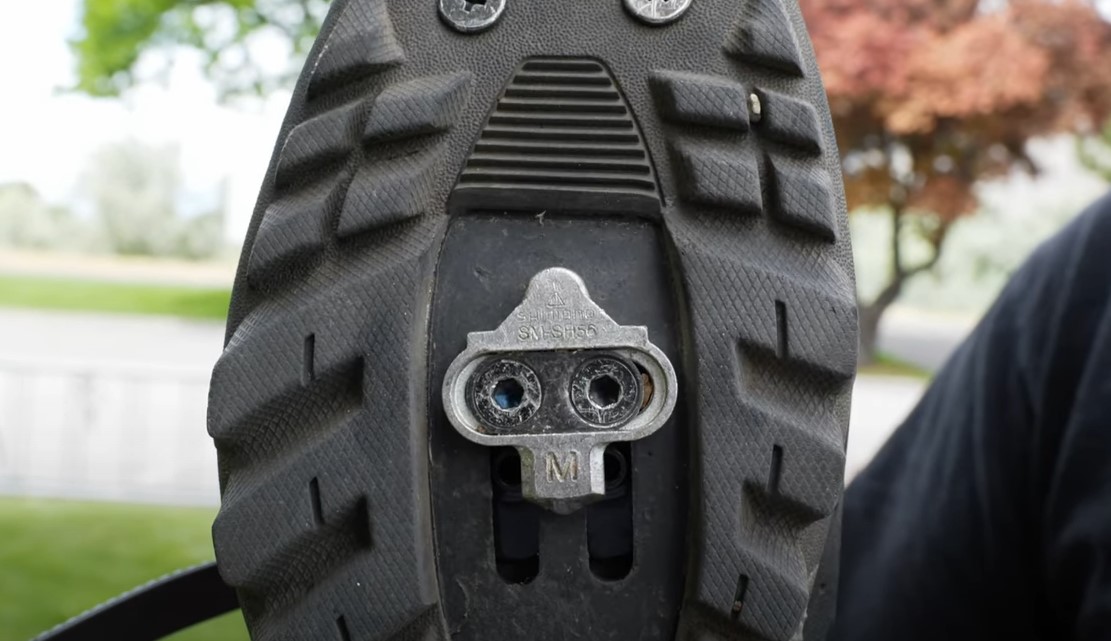
All you need to do once you have your cleats attached is to align the cleats with the pedal. Then stick the toe end of the cleat into the pedal, and then press down with the ball of your foot to lock it in place
If you want to remove your shoe from the pedal just twist your foot to the outside and it will pop right off. A riding shoe can be nice because it allows for more pedaling power allowing you to push and pull the pedals instead of just pushing like on a regular unattached pedal, as well as locking your feet to the pedals which may help avoid accidents where your feet would fall off the trike. Now once you have the trike adjusted to yourself and your trike is in tip top shape, let's get out there and learn how to ride.
When first sitting down on your MAX you'll notice that one of the great features about the MAX is that it comes stock with Catrike's Exit Assist Bars. These allow you to have an easier way to mount and dismount your trike. You just simply hold on to them when getting out to give yourself more leverage.
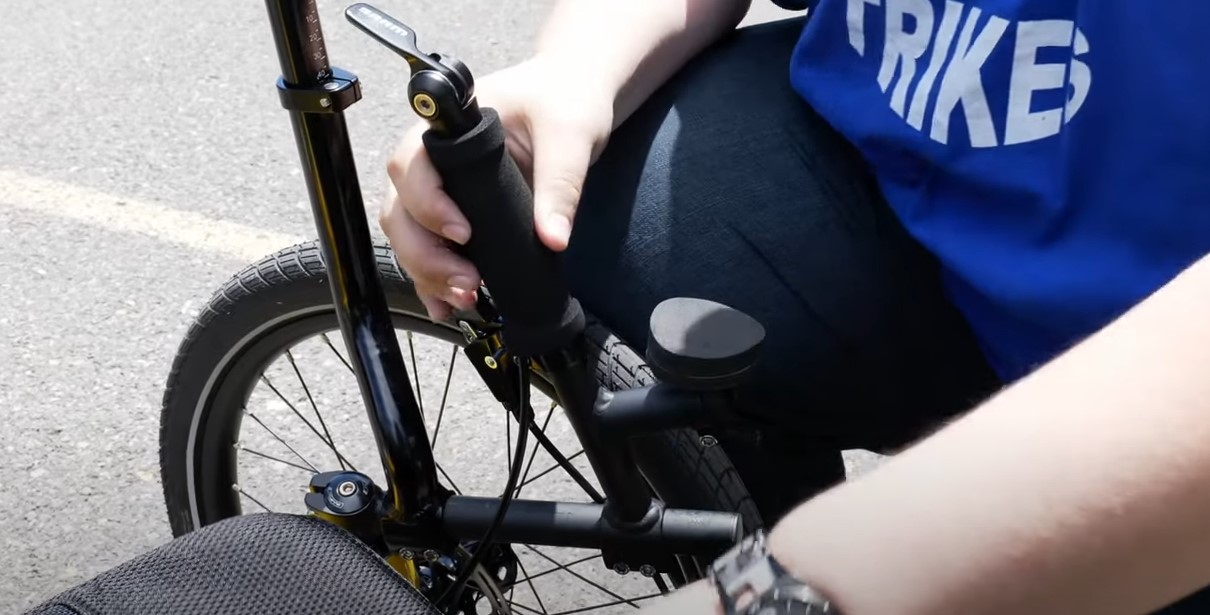
Now that we're on our trike the first thing we'll want to talk about is the brakes. You have a brake lever on both handlebars, and each brake has a locking pin. To lock the brake you will pull the brake back, push the pin in, release the handle, locking the pin in place. Then you can pull the brake to unlock it. Because there's a brake on each wheel, you will want to make sure that you hit the brakes evenly, not too hard on one side or the other. If you pull too hard on one side, it may start to pull the trike to one direction
The next item is steering. Catrike has a direct steering setup where the handlebar is directly connected to the spindle. This makes it really easy to steer. So when you're sitting in it, to turn, you just pull the handlebar to the side towards you the way that you want to go. When you're riding, make sure to slow down and lean with the turns. Catrike is very stable, but as good practice make sure to take controlled turns to prevent any loss of control or stability. Next we have the shifting. On the MAX there is only one shifter which is on the right handlebar and controls the rear gears. On other models of Catrike though there will be two gear shifters the left shifter controlling front gearing and right shifter still in charge of the rear gearing.
To shift your gears you simply just push the shifter forward and down or up and back. When you're riding you'll find that cadence is key so adjusting your gearing to make your pedaling more comfortable is probably your best option. As the terrain changes so will the resistance, gear shifting will allow you to make these climbs easier by shifting to lower gear.When you shift into lower gears it increases the amount of pedal rotations needed to make a whole wheel rotation. This allows for easier pedaling without as much resistance. Making a great starting gear and for any rough terrain.
A higher gear will decrease the amount of pedal rotations needed to rotate the wheel. This leads to more pedaling resistance, but also more speed. Think of it like shifting on a car. The faster you want to go the higher gear you need to be in. Starting on a high gear in a car can bog the engine or stall you down because of the lack of torque, but starting in a lower gear gives you the amount of torque needed to get you rolling. When you do start shifting you'll want to make sure that you are pedaling as you shift. If the chain isn't moving it can't move up the gears. And could potentially get stuck.
A good practice is to shift down your gears before you stop so that once you need to start pedaling again you don't have to start on a higher gear. Besides riding functionality an important note is riding safety. Recently we made a video on how to ride safely and smartly that you guys can check out. Getting a trike like this can be a big investment and knowing how to take care of it and make sure it stays in top shape is a good idea. I hope this article helped you become more familiar with your trike and made your introduction into the trike world a little bit smoother! If you're a new trike rider leave a comment down below and let us know what about your trike you're most excited about! We love to hear from you guys!