


Brake Mastery: Navigating Safety and Control on Your Trike
Published on 04/04/2024
Welcome back to Utah Trikes. When you are riding a trike… or any vehicle really you always want to have a way to stop. Hurdling down a hill going 30 miles per hour without a way to stop yourself is a bit too treacherous for me at least, so thank goodness that we have brakes.
We’ve gotten lots of questions through the years about what types of brakes we offer, which brakes are better for certain situations, and questions on parking brakes. So we thought that we would do an extensive article about everything you would need to know about brakes. In this article we’ll go over the different types of brakes and what they’re used for and how they work. Let’s get into it.
Brakes on Trikes
Brakes on trikes work like brakes on any other vehicle. Brakes make it so that you can stop when you need to, this makes them one of the most important parts of a trike. Because brakes are so important, it's vital that you get the best brakes possible for the type of trikes that you have. It’s also important to keep those brakes in good working order. If your car was having trouble braking you would fix the brakes and the same goes for any other type of moving vehicle.
Types of Brakes
On a tadpole trike you will encounter four styles of brakes. Hydraulic, Drum, Disc and Rim.
Each of these brakes function in different ways and utilize their own unique style of braking.
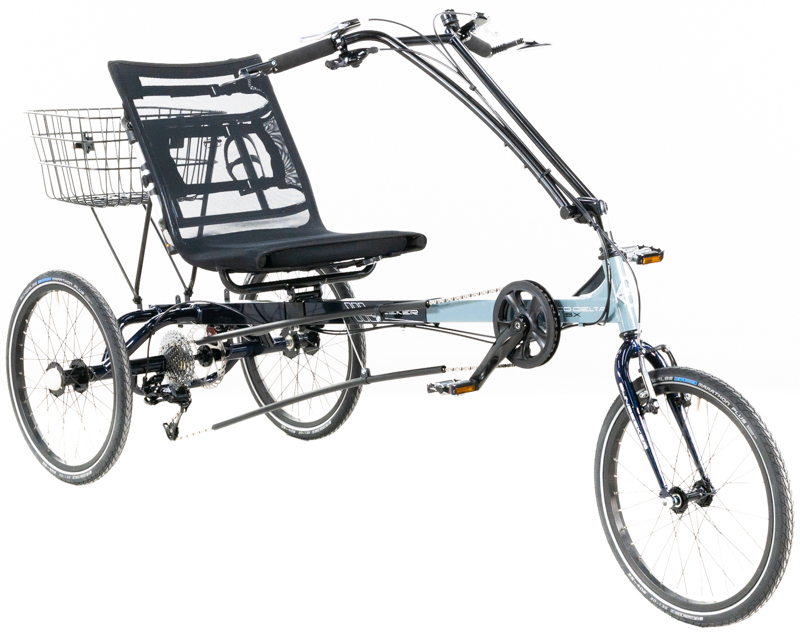
First we will start with the Rim Brakes. Rim brakes are a very common option on cheap bicycles, but for trikes they aren't THAT common, at least here at Utah Trikes. When they are used they are best utilized by a trike system that more resembles a standard bike fork for the front wheel. That would include our Delta platform trikes.
If your tadpole trike has Rim brakes they will only be installed on the rear wheel and are used primarily as a parking brake. These are great for holding your trike still while parked, or keeping it in place while you are getting in and out.
The reason why they are so uncommon on trikes is because they are the least practical option for braking on a trike.
The biggest drawback of Rim brakes is that they will wear down the rim over time especially if there is any contamination between the brake and the rim. As such you will need to replace a wheel much sooner than you would when using a different style of brake. And not to mention that if your wheel is out of alignment this will significantly reduce braking effectiveness while using rim brakes.
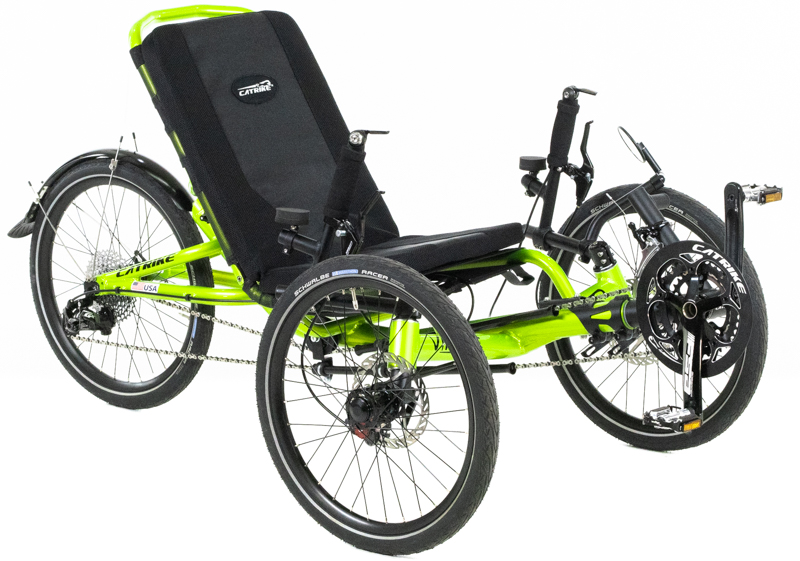
Now onto disc brakes which are the most common braking options for the trikes that we carry.
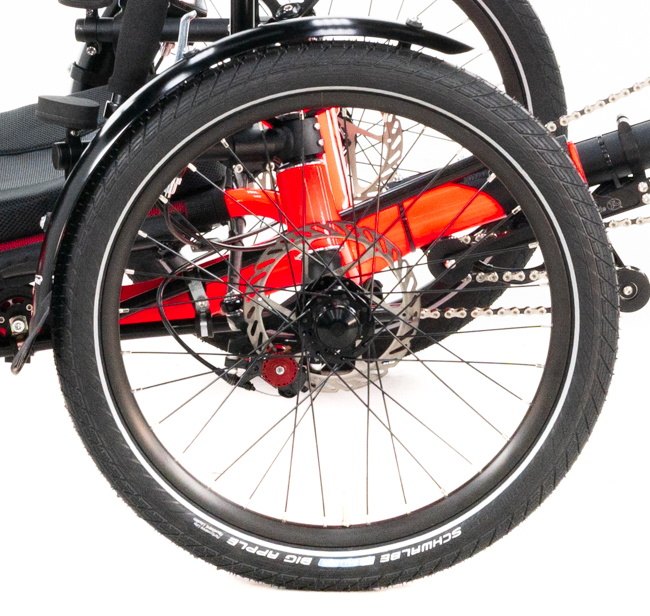
Disc brakes are most often found on the front two wheels of a recumbent trike, but can be found mounted on all 3 wheels. Similar to rim brakes, disc brakes use a clamping style to brake, but instead of on the larger rim of the tire it applies its clamping force to a brake rotor attached to the side of the wheel’s hub.
Having the clamp be on a smaller part of the wheel, and closer to the center of the hub allows for much more effective stopping power, and much less wear on essential parts of your trikes wheel assemblies.
Because of this different positioning they are much better at providing continuously effective stopping power while going downhill, whereas drum brakes will fade over time.
And compared to drum brakes, disc brakes are a lot easier to replace, where with a drum brake you will have to disassemble the wheel’s hub to get to the worn out parts.
Mechanical Disc brakes are great in many ways, but nothing is perfect. One of the disc brakes greatest weaknesses is noise. If the rotor or brake pads are not in alignment or debris is caught within the clamping mechanism then you will hear a repeating scraping noise any time you hit your brakes.
This sound can range from just a light squeak that can easily be ignored, to the wail of a banshee, which as you can imagine isn't that pleasant.
If you do hear some squeaking or squealing from your disc brake while riding you may have to re align your brakes, or clean out contaminates either on the rotor or the brake pads.
For cleaning the squeak out of your brake pads you will want to scrub down both components with isopropyl alcohol and wipe them down with a clean rag. If you continue to hear squealing you may need to sand down the brake pads a little. And If the squeaking continues beyond this point you may need to replace your rotor or brake pads.
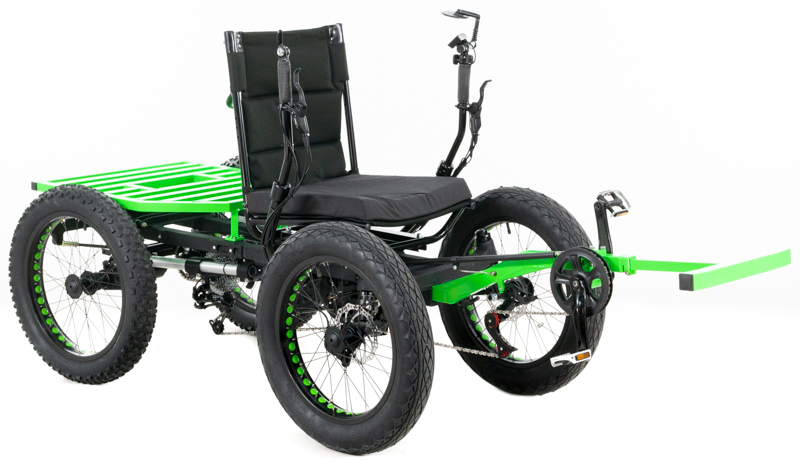
Next up is Hydraulic brakes which are a common brake upgrade that we provide on trikes that come with disc brakes, and can also be found on all of our Revolution eQuads and NotAWheelchair Rigs. These are often an upgrade because Hydraulic brakes are very similar to the mechanical disk brakes. Both brake options utilize a brake clamp onto the rotor but it's in their FUNCTION between your hand and the caliper that has such a big difference.
Mechanical disk brakes use a braided wire system connected to the brake levers. This limits brake power to how much grip strength you can apply to the levers, And if the cable is exposed to water they can easily rust and snap causing brake failure.
Where as a hydraulic disk brake uses a sealed hydraulic fluid system that greatly increases braking power, not limiting you to how hard you can squeeze. They are also much more sensitive than other brakes so stopping at a short distance is much easier if you need to be hitting the brakes quickly.
Some drawbacks to hydraulic brakes is that with using hydraulic fluid there is a rare chance that your brake system can leak this fluid and need some maintenance. You also need to stay aware of colder weather. In extreme Freezing temperatures the hydraulic fluid of the brakes can freeze and cause complications in braking power. But we are talking in the negative degrees Fahrenheit.
Now lastly we have Drum Brakes.
The main draw of the drum brakes is the convenience of less maintenance and much quieter, almost silent braking. We don't have many drum brake options here but when they are added they will almost always be located on the front two wheels of the trike.
The big drawbacks of drum brakes seem to arise when you are doing intense down hill riding or constant intense braking. Drum brakes will overheat and lose their effectiveness or “fade” through constant application. So pumping your brakes is almost a necessity for a drum brake set up. And when it comes to maintenance you will have a lengthy process to fix or replace any worn-out parts ahead of you.
Why do most trikes not have rear brakes?
Most recumbent trikes will only have brakes on the front two wheels. Each will be controlled independently. (The left brake lever for the left wheel and the right lever for the right wheel) This is similar to your standard bike where each brake lever correlates to one wheel or the other. Unlike a bike though, a rear wheel brake can cause more problems than benefits while riding. If your rear wheel locks while braking this can lead to many different steering issues that can easily result in you losing control of your trike.
Many of the brands that we carry do not come with rear brakes and when they do they are only as a parking brake option and not tied to either of the two brake levers. Out of the trikes that we carry ICE and HP have rear parking brake options while Catrike’s 700 comes with a rear parking brake from the factory.
When rear brakes are added, the friction lever is usually placed under the seat on the left side. Its not as easily accessible when riding, but it can be easily engaged once parked, and some people even use its multiple levels of brake power to apply light braking while going down hill to add a little more stopping power. It should be noted that its assistance is minimal and shouldn't be depended on to stop your trike.
Parking brake styles:
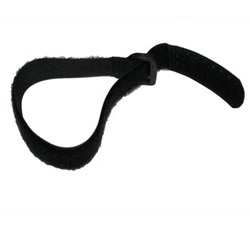
Strap-
This is not an extra rear brake option, but instead just utilizes your front two brakes. This is the cheapest option of parking brake as it is just a velcro strip that wraps around the handle and brake lever. When it is tightened sufficiently the constricting force of the strap will act as a parking brake.
Dial-
This is a rear parking brake controlled and activated by a friction lever normally located near the base of the seat or mounted on the handlebars. All you need to do is set it and leave it. The dial brake lever will only be used on a rear mounted brake and is primarily used as a parking brake.
Some people may use it to add resistance on a downhill ride but we would not recommend depending on this kind of setup as a means of consistent braking. They don't apply consistent braking while moving and dials are known to loosen themselves at times.
Locking brake levers-
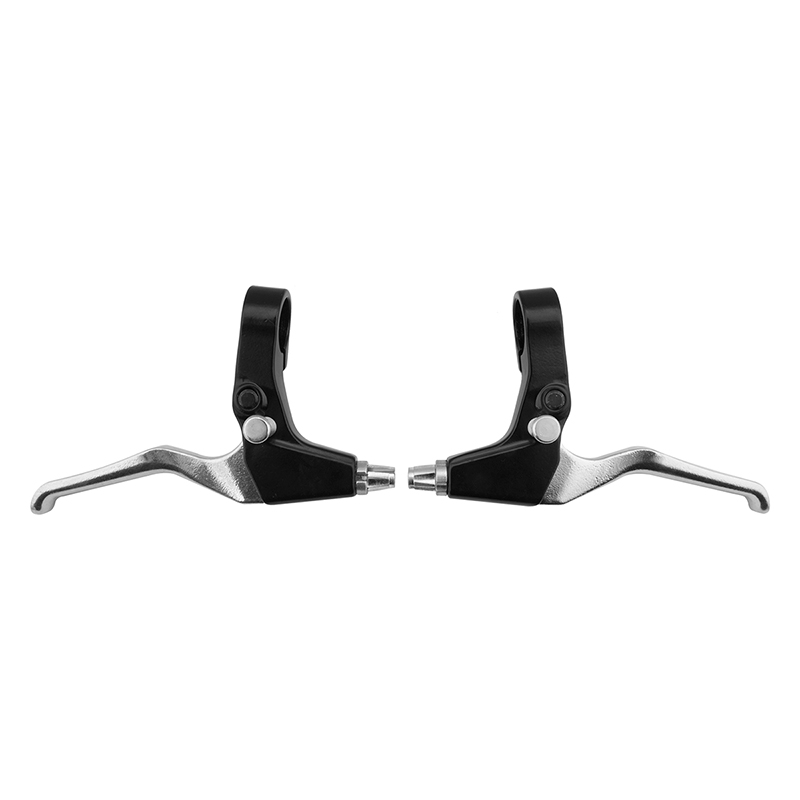
These are our favorite style of parking brake and our customers seem to agree. The locking brake levers are usually just on the front two wheels of a trike for trikes with no rear brake. And these pins work when the lever is fully depressed and the locking pin, located on the side of the brake, is pushed in.
To lock these kinds of brakes, you will pull the brake lever, push in the pin, and release the lever while holding in the pin. To disengage the lock, simply pull the brake lever again to allow the pin to spring back out.
There is also the Dual pull locking brake lever. This is the same process but it will be much more difficult to apply as there are TWO cables going to ONE lever instead of the tension of a single cable. This will require greater grip strength and many customers report having a hard time getting the pin in with the added tension. So many customers with the dual pull lever resort to using the brake strap mentioned before and they work just fine.
How to Brake

For beginners let's talk about how to brake effectively for maximum safety and comfort. When braking you will want to apply equal amounts of pressure to both brakes to keep you from being pulled in one direction.
If you pull harder on your left braking lever than your right your trike will steer to the left. This can result in difficulty steering and stability issues.
If one hand is weaker than the other, and you can’t confidently apply the same amount of pressure to both brakes, we do have the option of a dual pull brake lever that can be added custom to your trike. A dual brake lever is when both brakes are connected to one lever. You will want this lever to be on the side with your stronger hand.
When applying your brakes you will also want to apply gradual force. Keeping your braking smooth and calculated will prevent any sudden stops, or riding mishaps
Conclusion
It's important to mention that for any type of braking style that you may want we can add it custom to your trike build. We here at Utah Trikes pride ourselves on being able to customize any trike to make it all the more specialized for you and your riding style. If you want a custom brake upgrade you can inquire about this addition with your build or if you have any questions, email us at Trikes@utahtrikes.com
And that's everything you need to know about brake options for recumbent trikes. With so many options for brakes it can get a bit overwhelming choosing the right brakes for you and your riding style. So we hope that braking all of their categories down for you was helpful.
Thank you for reading this article. We hope that you were able to learn something new about braking. Let us know in the comments if you have any questions or what types of brakes you have on your trike. That’s all we have for today. In the meantime remember to relax, spin fast, and ride trikes.
UtahTrikes.com is a wholly owned subsidiary of Guy Graphics, Inc.
Copyright © 2006-2024 All Rights Reserved.
Materials on this site may not be used without express written permission.