


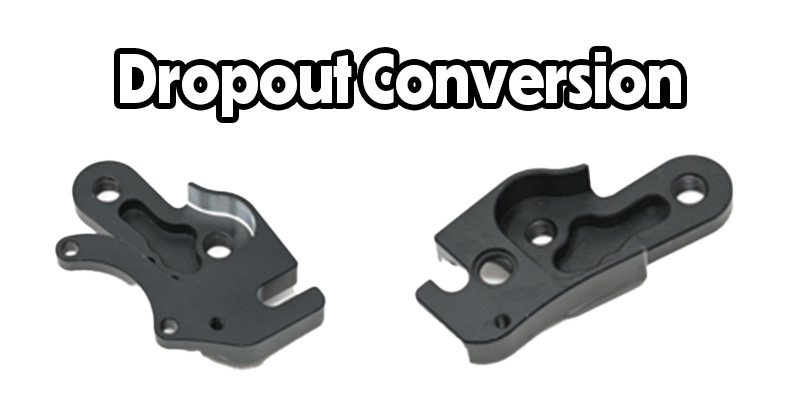
How to Install a Thru Axle Dropout Conversion on a Catrike
Published on 02/26/2024
Hello Everyone, welcome back to another Utah Trikes article. Today we're going to show you how to install a dropout conversion onto the rear fork of your Catrike. The one we're working on today will allow you to convert your axle from a ‘skewer’ style to a more generic drop out. There will also be a video version of this article linked at the bottom of this page.
Parts Included
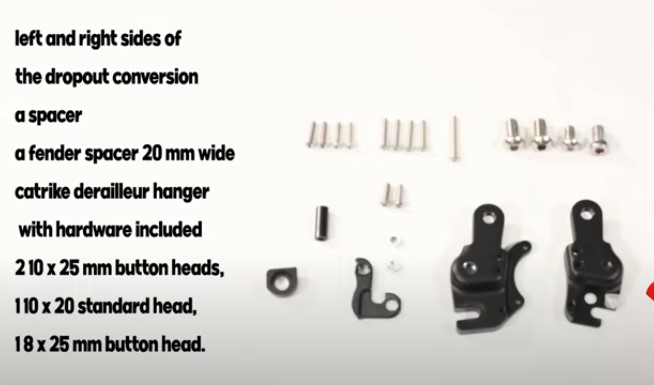
The materials included are the left and right sides of the dropout conversion, a spacer, a fender spacer 20 mm wide, Catrike derailleur hanger with hardware included, 2 10 x 25 mm button heads, 1 10 x 20 standard head, and 1 8 x 25 mm button head.
Tools Needed
The tools that you need today are a multi tool and 8 mm allen key.
Installing the Drop Out Conversion
steps:
1. Remove the rear wheel and accessories
2. Bolt on both sides of the drop out kit
3. Reinstall the rear derailleur and accessories
4. Install the new quick release wheel
1. Remove the rear wheel and accessories
To start, you will need to remove your wheel. If you need help with this step, check out the video we did on this topic.
Once your wheel is removed, you will need to remove the other half of the through axle using an 8mm allen key; this is also the old derailleur hanger. Then, move the other half of the axle and set the derailleur out of the way.
Be sure to remove all accessories off of the frame including a fender or rack if you have one. The drop outs will move everything further from the main frame and change the mounting position of your accessories.
2. Bolt on both sides of the dropout kit
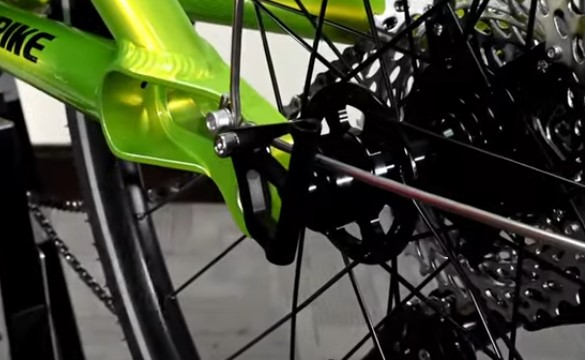
Now that everything is removed, we can add our dropout plates. The dropout plates are cut out in a way that allows them to only fit a specific way. It may take a bit of adjustment, but the plates should fit in snugly.
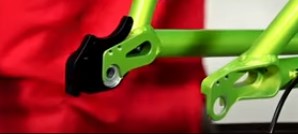
We will start with the left side of the trike and slide the drop out onto the frame. Be sure to push it on to make sure it is fully secure. If it doesn't go on smoothly, first make sure it is the correct plate, then give it a couple taps with a mallet as sometimes the paint can get thick in some areas and cause a little resistance. Next, we will take our 10 x 25 button head and screw it through the hole on the inside of the frame. It will thread into the mounting plate.
We will repeat these steps for the right side.
On the left side of your frame, screw the standard head bolt into the slot where the old through-axle used to go.
On the opposite side we will place a spacer which will fit into the hole. The 8mm button head will go on this side, screwing through the spacer.
Next we will tighten everything down.
3. Reinstall the rear derailleur and accessories
Next we will add the Catrike derailleur hanger which will fit right into the cut out on the plate.
The hardware for the hanger will have one side for an allen key hex, while the other side will have a notch for a flat head screwdriver.
To install it, we will put the notched part on the inside and the allen key side on the outside. You will have to hold the inside while you tighten the outside so that it can be easily threaded in. Now we have a place for our derailleur to be mounted.
You will need to take out some of the slack on the shifter line to accommodate the extra length of the drop out. There is usually a fair bit of extra slack from the factory.
You may use the same holes to mount your rack. However, there is also an additional hole for your rack, one on each plate, so you can mount your fender and rack further back to account for the extra length.
The 20 mm spacer will go where your fender mount is to extend your fender back further so it will not rub against your wheel.
While the drop out kits are mainly meant for converting the rear wheel quick release style, they also can be used to mount a rear parking brake. To do this you will need to acquire a wheel hub with a rotor mount, brake cable, and parking brake lever.
4. Install the new quick release wheel
Once everything is installed, you can now swap out your wheel with a generic quick release style wheel. And then you’re finished!
I hope this article has helped you learn how to install a drop out conversion onto your Catrike. All of the tools and materials can be found on our website or linked in this article. If you have any questions, contact us anytime and we will get back to you as soon as we can. In the meantime, Relax. Spin Fast. Ride Trikes!
UtahTrikes.com is a wholly owned subsidiary of Guy Graphics, Inc.
Copyright © 2006-2024 All Rights Reserved.
Materials on this site may not be used without express written permission.