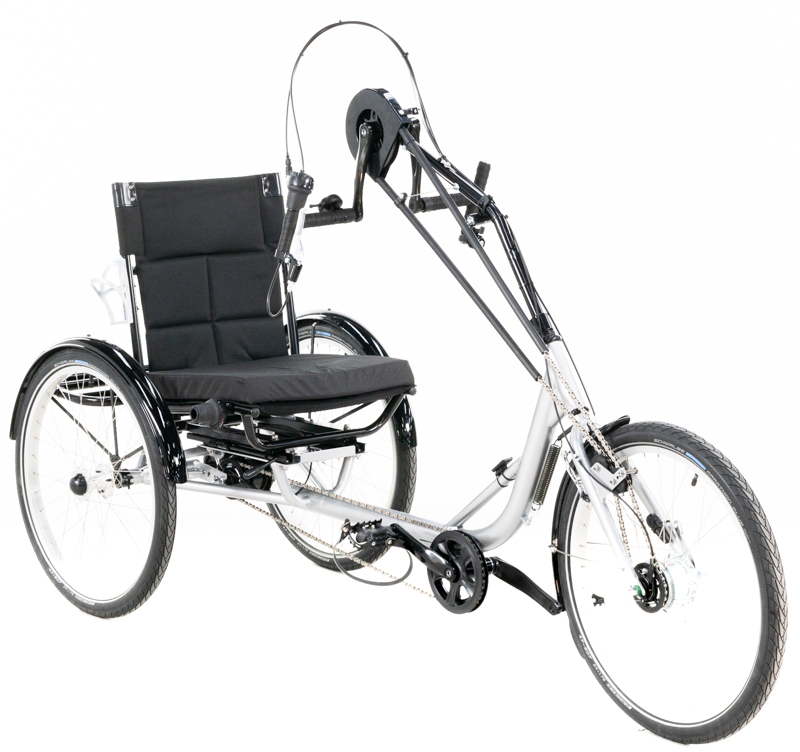
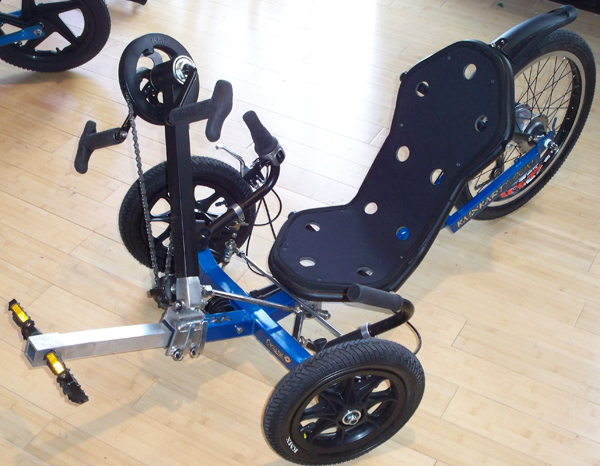
Custom KMX Handcycle
We had 1 week to build a handcycle for a local boy with a dibilitating disease. Being a small child, the KMX Cyclone seemed like the obvious choice as a base to build upon.
Steering and Pedaling
The main challenge of creating a handcycle is to facilitate both steering and pedaling from the center yoke. Being that we didn't have a lot of time we decided to figure the pedaling out first and then adapt a steering system to our pedaling boom.
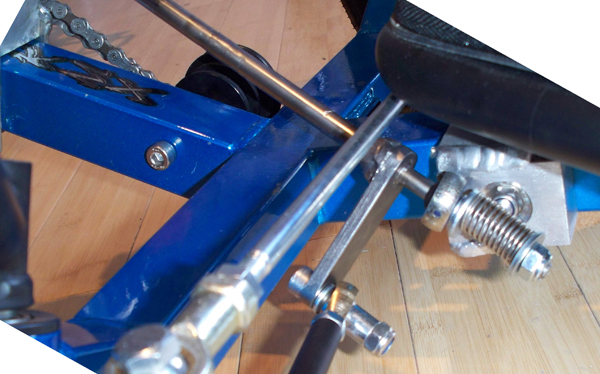
Steering Arm and Pivot
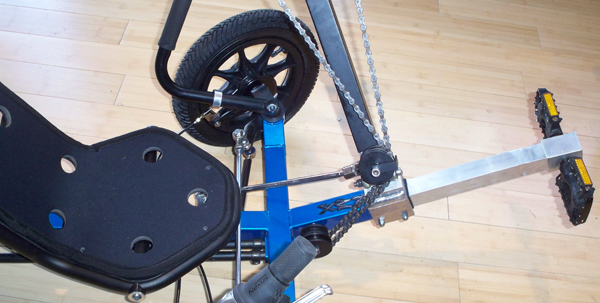
We ran a universal joint from the boom right above the pivot connected to a rod that pivots under main tierod. We wanted maximum left and right steering to happen at a 15-degree tilt either direction. That meant our steering arm needed to be 2.3" from the pivots. With that in mind we anchored the rod as high as possible using a heim joint. Our main support block is attached to the frame via a bolt and the only hole we drilled in the frame. The spring at the end of the steering rod is there to reduce the backlash of the u-joint.
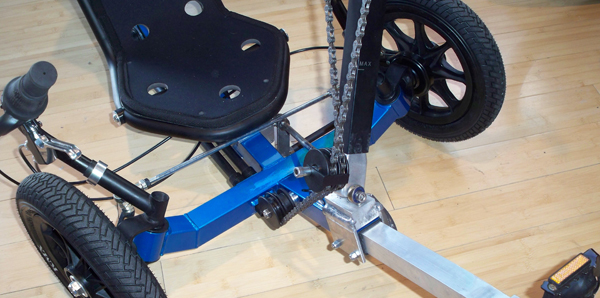
Front Boom Pivot
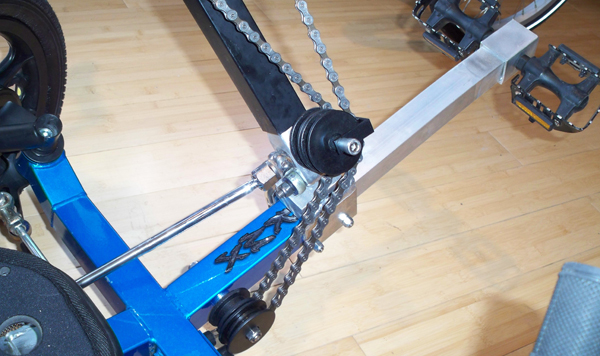
We wanted the hand cycle option to be a bolt on solution since we would not have time to sandblast and powdercoat the frame. Our front pivot assembly clamps onto the stock boom clamps and provides a mounting platform for our two heim joints. The boom slides onto our block whick also hold the idlers and universal joint.
Double Idlers
When you have a pivoting boom there is going to be some flex in the chain. We upgraded the chain to a much more flexible X9 chain and are running two sets of idlers. There is some limitation to how far you can bend the boom and still move the chain. I don't anticipate a lot of pedaling while he's turning though.
Crank and Pedals
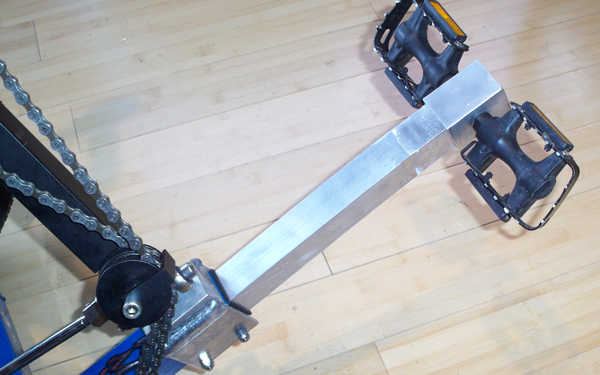
The crank and pedals took more time thinking about than actually do it. Originally we were planning on making a custom boom and using a standard square-taper bottom bracket. In the end, it was much fater to dissassemble the original crank, cut it and weld it so both cranks were on the same side.
For the pedals, we ended up cannibalizing a set of egg beaters and blowing the latches off with a plasma cutter. Our 7/8-inch tubing fit right over the pedals and were welded in place. On the end we added Cane Creek ergo grips for a vertical hand position.
Nexus
We decided to go with the Nexus hub for two reasons. One, we wanted to make sure we had a low gear range since he'll be using his hands. If our gearing isn't low enough it is easy to shift the range down by switching out the drive sprocket for a larger one. Second, it would be very difficult to shift and pedal at the same time, with the Nexus he can shift gears while stopped or coasting.
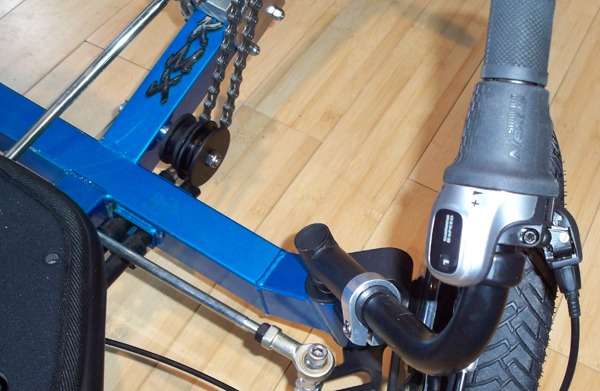
Shifter
We decided to keep the stock handlebars and mount both the shifter and brake to one handle. That way he can still pedal with one hand while shifting.
foot holder
This is our temporary foot rest. For the final version we'll add a wider bar to the front with some stirups.
foot holder
The bar is adjustable and can slide in and out using the stock boom mechanism.
chain twist
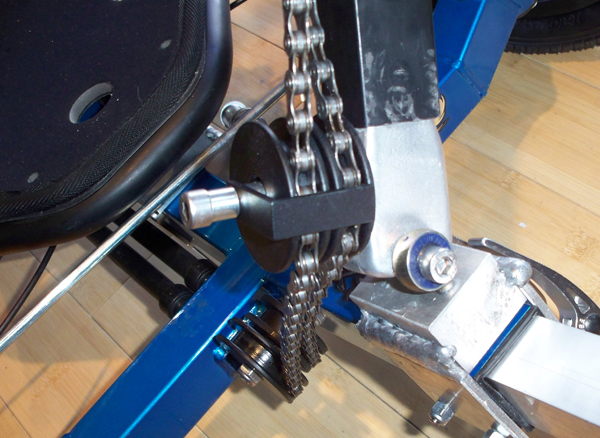
You can see some chain twist as the boom pivots. The stock derailleur is used in the rear as a chain tensioner to take up the slack.
chain twist
The X9 chain is pretty amazing. It still rolls well even under this twisting. Here it is seen in the most extreme position. Not super smooth, but the chain won't come off.
Due to time constraints we didn't finish cleaning up the welds for the photo shoot on the lower pivot assembly:(
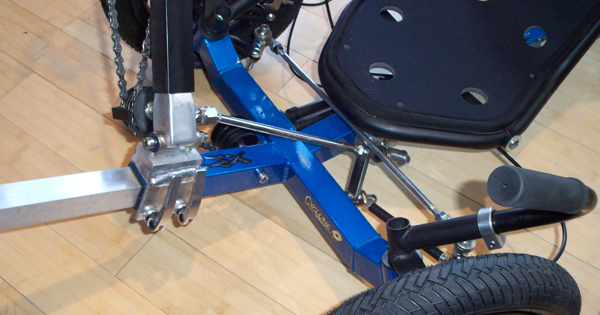
Steering Rod
Here you can see the steering rod coming from the boom to the rear pivot. The black tierod is adjustable so the boom can be centered with the wheel tracking.